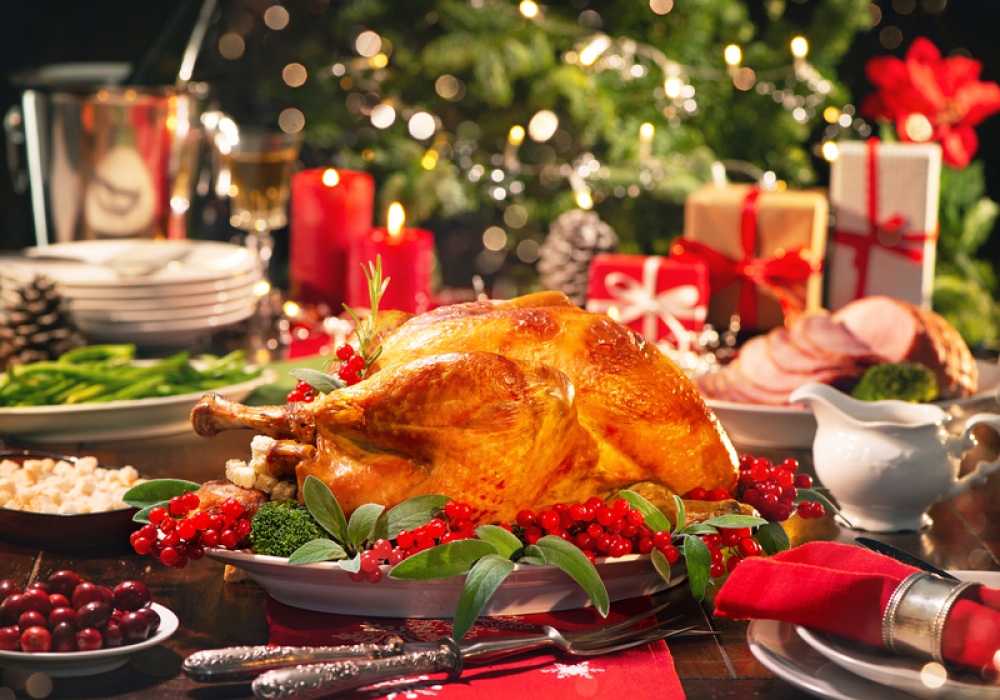
12 Top Tips for Cooking Your Turkey this Christmas


1. There’s one important thing you need to check – does the turkey actually fit in the oven? Seriously, they’re big birds, and you’d be surprised at the number of us that purchase a turkey only to find that our oven isn’t big enough on Christmas Day. Don’t panic if this does happen though. Just use a sharp knife to remove the legs, and cook them in a separate roasting tin for an additional 30 minutes.
2. If your oven is big enough, what about your roasting tin? If your tin is too small then you’ll end up with the fat and juices over-flowing and no one wants that sort of mess to clear up on Christmas day.
3. Remove the turkey from the fridge and bring it to room temperature. This will relax it and make it cook more evenly, and taste juicer, but it will take at least an hour so give yourself plenty of time (maybe open your presents while you wait).
4. Before you begin cooking, pay close attention to your bird’s packaging. The weight will determine its cooking time so don’t just hazard a guess.
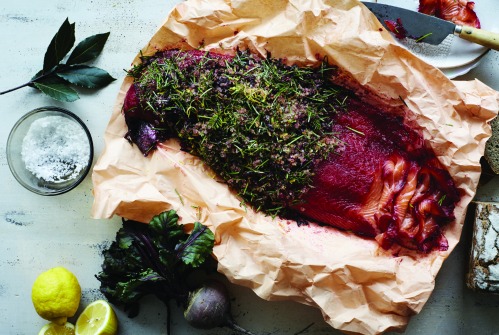
5. Stuffing is not essential, but if you are planning to give it a go prepare your stuffing ahead and freeze it. You simply need to defrost and bring it to room temperature before stuffing, just before cooking. If you do it the night before you’ll create a breeding ground for bacteria.
6. Remember to stuff the neck and not the body, and weigh your turkey after stuffing to re-calculate its cooking time.
7. Now that you’re ready to prep, preheat your oven for at least 20 minutes.
8. Use a spoon or turkey baster to baste the juices over the top of the bird every 30 minutes during the cooking time to avoid drying out your bird.
9. Your turkey is fully-cooked when the thigh juices run clear. To check, insert a small knife where the meat is thickest – between the thigh and breast. Or, test your turkey with a temperature probe, which must be 72 degrees or above when inserted into the thickest part of the breast for two minutes.
10. Ensure you allow time for your turkey to rest once you remove it from the oven. This again depends on its weight, but avoid wrapping it tightly in foil – this will only trap steam and cause your crispy skin (arguably the best bit) to go soggy. Instead, tent it with foil and while the turkey is resting, cook your roast potatoes and vegetable dishes.
11. Collect the juices released by the turkey as it rests and add them to the gravy.
12. Now that it’s cooked to perfection, it’s time to carve the turkey. Start by removing the legs – cut between them and the breast then grab each leg by the drumstick to release. Then take off the wings by pulling and twisting them away from the breast. Carve your breast by positioning your knife at the fattest part and slicing down at an angle. Carve and serve the slices of breast thin, the thigh chunky and the drumsticks whole. Or grab a glass of wine and ask someone else to carve since you did such a good job of cooking…