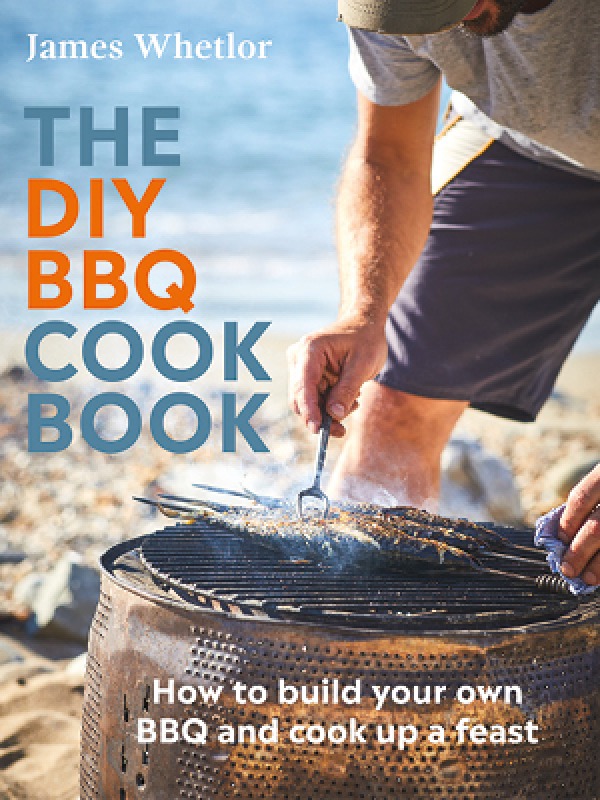
The DIY BBQ Cookbook by James Whetlor (Quadrille, £20) Photography: Sam Folan
Join Our World... Sign up for our exclusive newsletter.

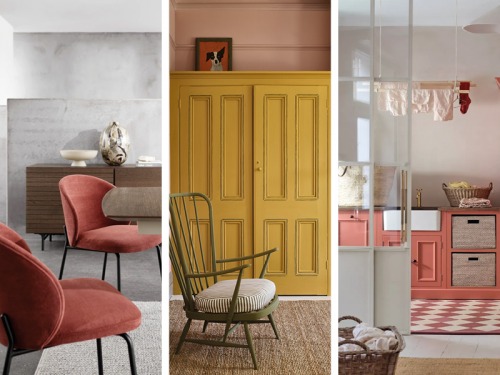
Be inspired every day with Living North

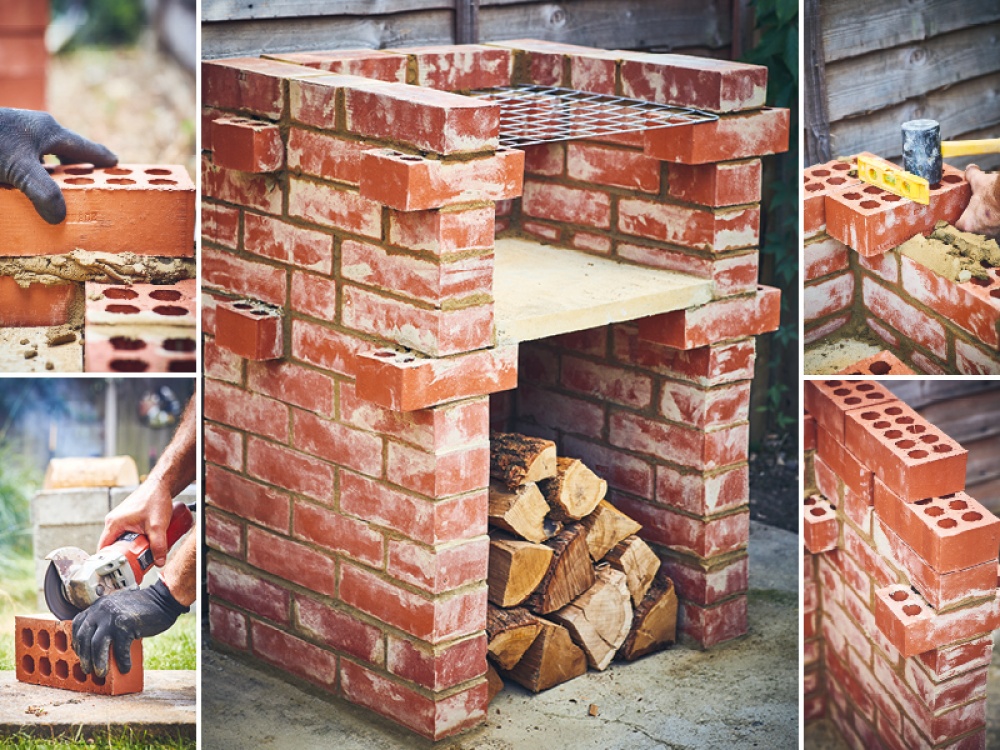


When discussing this idea with my publishers and a few other people whose opinions I trust, the consensus was that there should be a solid build in the book. All the other builds can be temporary, dismantled once you’ve finished with them, but everyone agreed we should have something that is a keeper. This will take a bit more skill than the other builds and requires some planning. As I said, it’s permanent. Once it’s in, it’s in. However, like all the builds in the book, you can do it with minimal skill. I am testament to that. This needs to be built onto a flat surface. A patio or a concreted area is perfect. If it is slightly uneven, you can use a spirit level with your first course of bricks to level it up. You will build around the paving slab, as it’s much easier than measuring it all out. When you are assessing the space you need, it’s a paving slab, plus the width of a brick.
Kit Required
Work gloves
1 x paving slab
74 x standard bricks, 4 cut in half (plus a few extra, just in case)
Safety goggles
Angle grinder
40kg building sand
10kg bag of cement
Shovel
Mortar trowel
Spirit level
45cm/18in square of heavy-duty wire mesh
Dustpan and brush, for tidying up
Small spatula
You will be building around the paving slab. Use this as your guide.
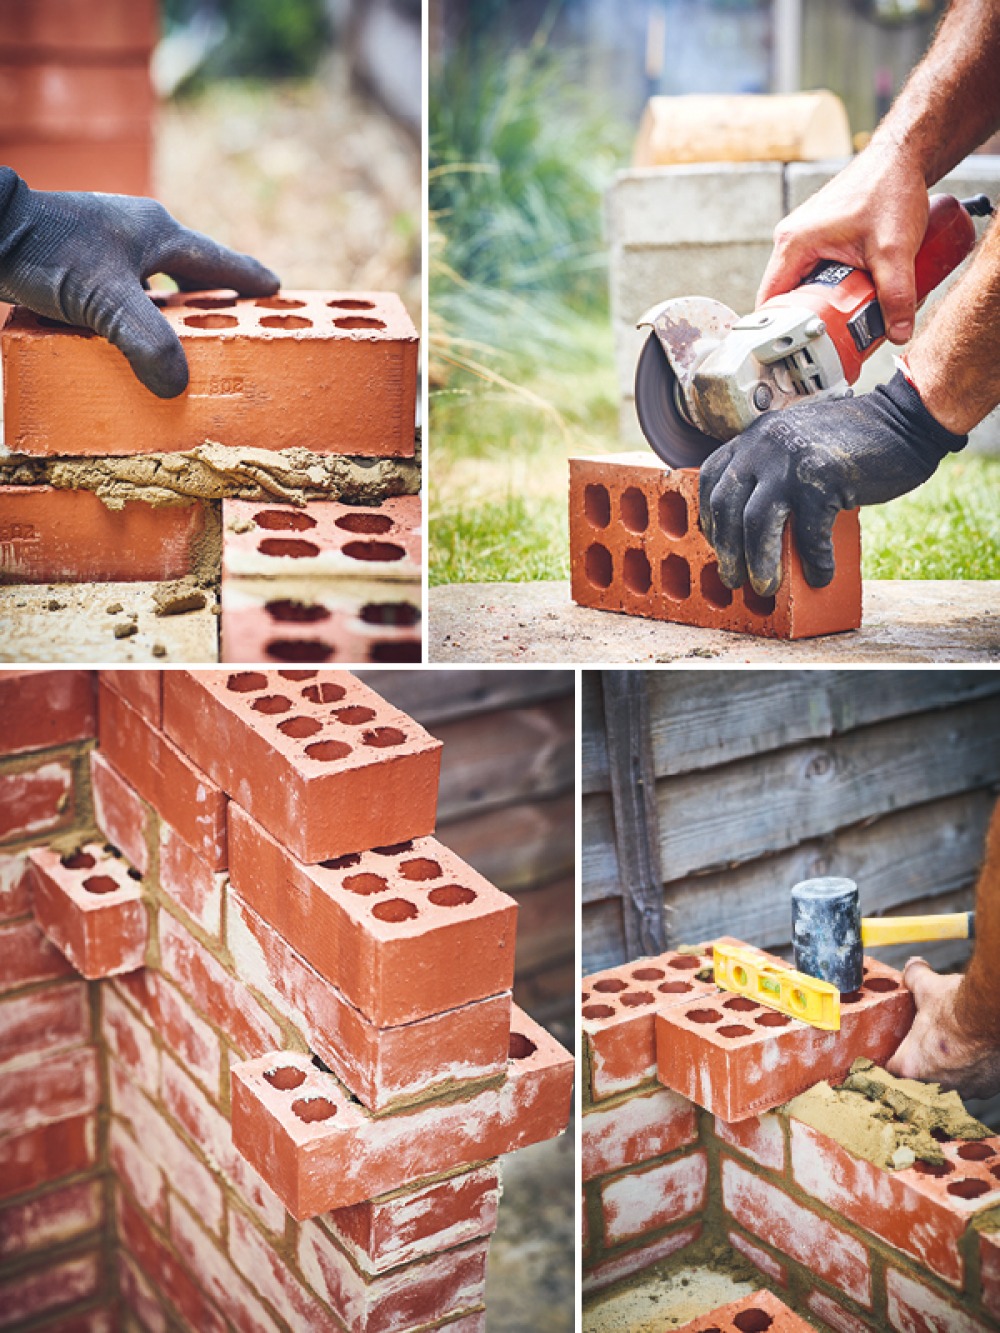
Take three bricks and place them end to end along the top edge of your paving slab. Now build the side walls. Place the first two side wall bricks, lengthways, each side of the three back wall blocks. This should fit round the edges of your paving slab. Lay the mortar between the bricks as shown in the photo (this is what holds them together) using your trowel or spatula to remove excess mortar and keep it neat.
Now build the side walls with two each side. You should now be looking at a ‘U’ shape with two bricks side by side at the end and two bricks down each side. Place half a brick at the end of each side wall so they’re level with the bottom course of bricks. This is PATTERN A.
You can slide out your paving slab at this point. (You will be sliding it back in when you have finished the build.)
The mortar layer under and between the bricks should be about 10mm thick. It is important to keep the bricks flat and level. Keep checking with the spirit level.
Lay another course of bricks on top, using your spatula to remove excess mortar and keep it neat. Start with three bricks layered end to end along the edges of your paving slab, then 2 each side on your 550mm wall. Check it’s all aligned as you go using your spirit level. This is the same as the bottom course/layer and PATTERN B.
Lay five further courses in alternating patterns. Pattern A, pattern B, pattern A. You should end up with seven courses (layers) of bricks, making a structure about 375mm high. The eighth course of bricks will create the ledge that will hold the paving slab in place, so the arrangement is different again: pattern C.
Lay the three back wall bricks as in pattern B. Lay the first brick of each side wall lengthways, then the next one as normal and the end one lengthways. These lengthways brick will form the ledge that supports the paving slab. This is PATTERN C.
On top of your course of pattern C bricks, that have given you the ledges, lay another which will be PATTERN D. On each side wall lay a single brick, then a half brick, then a full brick. The back wall will be made up with two bricks laid end to end and will fit snuggly in-between the side walls bricks.
Now lay another two courses of bricks as pattern B. Then one more course in pattern A. Then one in pattern C. Finally, lay on one more pattern D on the top. Tidy everything up with your spatular. The space inside your brick structure should be just big enough to lay your paving slab onto the bottom ledge. Slide it in carefully and grout around the edges with cement mortar.
Finally, slide the wire mesh into the upper ledge. Light your fire on the paving slab.
The DIY BBQ Cookbook by James Whetlor (Quadrille, £20) Photography: Sam Folan