Ultimate Step-by-Step Guide to Making Your Own Wreath This Christmas

Weave some magic...


Weaving a willow wreath
YOU WILL NEED
12 stems of coloured willow
Strong secateurs
2m of mixed ribbons
Choose your stems. Smooth, long, straight ones are the best. You may need to cut a little away from the bottom; willow stems are a bit like asparagus – the lowest bit can be too hard and brittle to be of much use. If you run your hand up, there will be a moment where it starts to feel more pliable and workable. Cut there.
The number of stems you cut will determine the size of your final wreath. Most woven wreaths go through an awkward stage where they look a bit wonky and clumsy, and the only way of fixing them is to keep adding more stems. Make sure you have more rather than fewer stems, just in case. I’d start with about 12. It is generally better to go smaller and fatter than bigger and thinner, unless you are a dab hand.
Check the stems for damage or canker. The rods will snap at these points easily and half the job of wreath-making is avoiding any kinks or corners in the willow. Smooth, soft curves is what you are after.
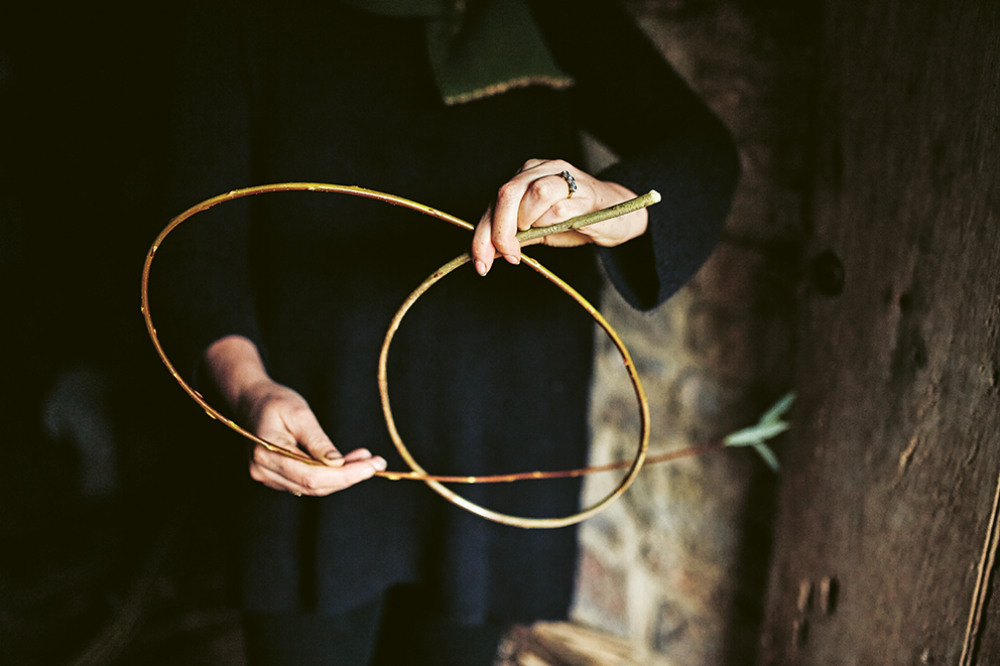
Put some old trousers on and make a cup of tea. Willow weaving cannot be hurried, or done under stress. It is immensely meditative and satisfying (the clichés about teaching basket weaving in high-security prisons have their roots in truth), but you need to be gentle and focused. Lay out your stems within easy reach and pick the longest. Do not try to force it to bend before you have softened its fibres. Starting at one end, gently rub it backwards and forwards across the front of your knee. This sounds very odd, but what you are aiming for is for the fibres that keep the willow upright to start to soften and become a gentle curve. After a few passes across your knee, you will feel the willow give, and when you hold it away from you, the rod will stay curved. Move the rod from one hand to the next, passing each section of it across your knee a few times, until the whole rod, from cut end to tip, is soft and pliable. Like a masseur finding a knot, you might find that some bits of the rod are more resistant than others.
However, a bit of pressure will usually yield results. I find that doing this in a warm place means the willow is happier to bend, but that might be because I am happier to work it for longer if I am warm and comfortable. Patience and kind hands are key here.
You can either soften all your rods at once, or as you go along. Take the longest rod and curve it into a circle roughly the size of the wreath you want. Smaller ones are easier to start with, but if you want to attempt a huge oversized one, cheating and using a bit of wire to tie the ends of the first stem is probably best. Put one hand through the centre of the circle and pull one end through the middle, as if you were tying it into a knot. Pull the ends to tighten the circle. It may have slipped open a bit by now, so be sure to put it back to the size you want. Keep wrapping the thinner end around on itself so that the circle starts to hold itself together. If you find the circle keeps popping open, you may have to go a bit smaller. The cut end is often too stiff to wrap around in the same way, so let it stick out a bit. It may mean that the wreath isn’t perfectly circular, but don’t worry, they always look wonky to start with.
The most important bit about putting the second stem in (and every next stem) is to make sure that the line of the weaving is going in the same direction. Poke the thickest bit of the stem through the centre of the wreath, check it is going the same way as the end of the last one, and then start to pull the thinner end round and through, round and through. The willow should start to fit into its own groove, like the fibres that make up a rope. It will look a bit uneven for a while and then suddenly come together.
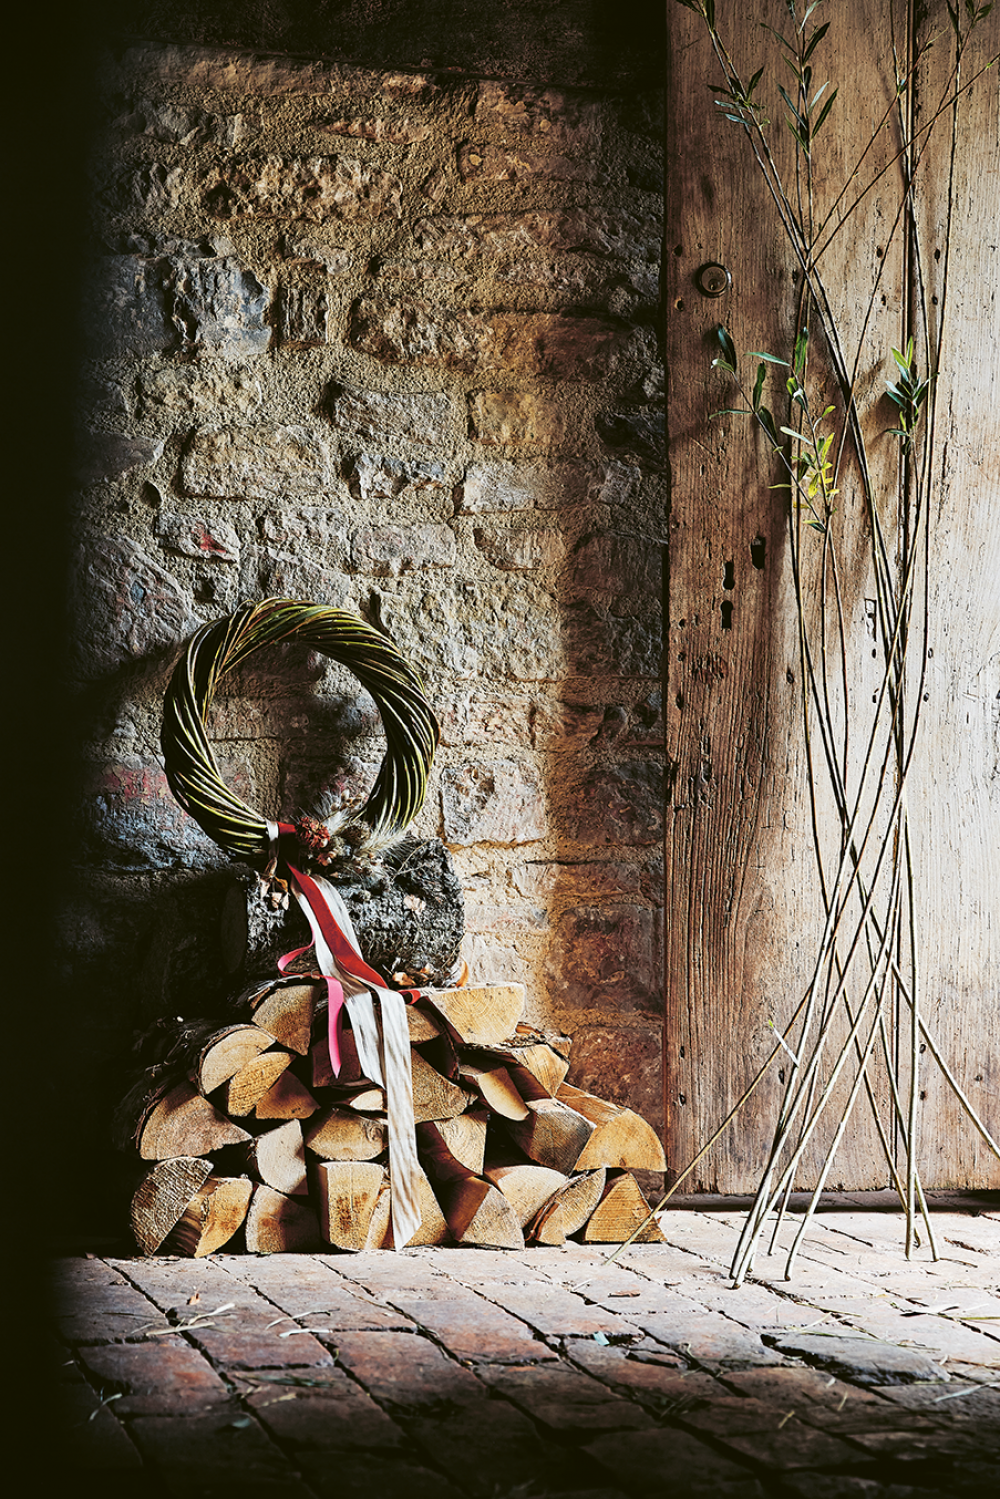
Trim off any blunt, thick ends that are still sticking out at the end. Decorate with ribbon. Velvet always looks good.
Weaving an evergreen wreath
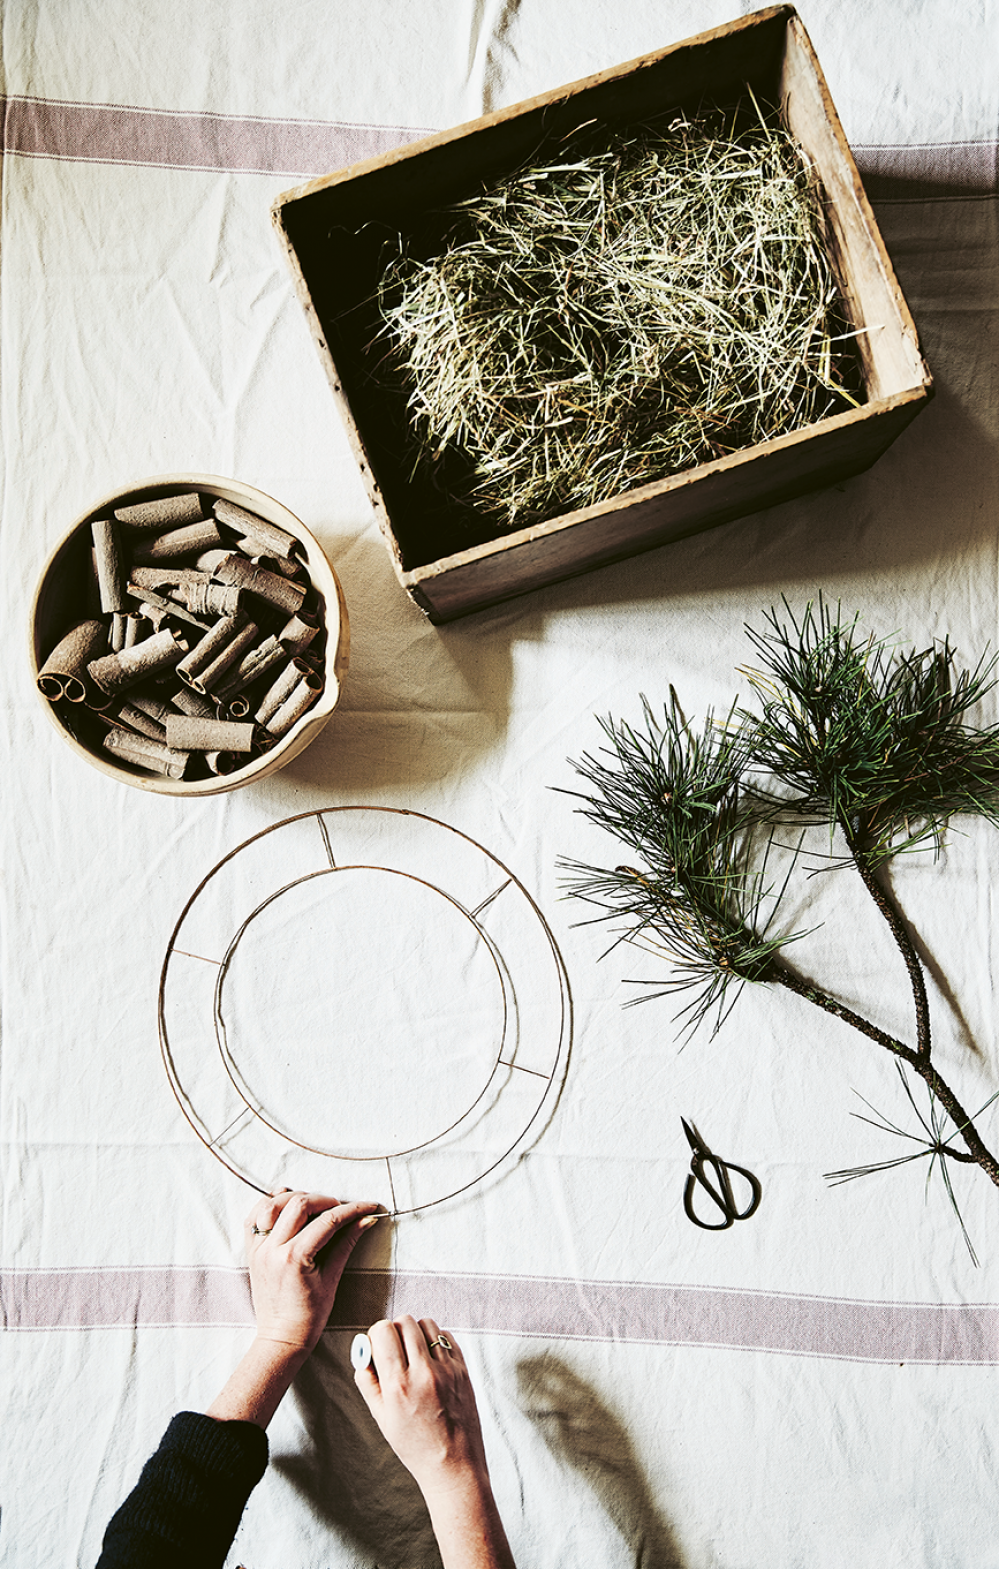
YOU WILL NEED
25cm (10 inch) copper base ring
Hay or sustainably-sourced moss
A ball of string or reel wire
A small bundle of foliage, evergreen or dried
twigs, fruits, seedheads
1.5m (5ft) ribbon
Strong secateurs
Secure the end of your wire reel or ball of string at a point on the frame. Doing so on a join means it won’t slip round so much. Put handfuls of dry hay into the wreath and wrap the wire or string around and around so you have a fat, even sausage. Make the sausage fatter for a bushier wreath, a bit thinner for elegance. Either way, it is the evenness that matters. Put the frame to one side.
Cut the foliage into lengths. The tips are always easier to make look good, so be creative with the other bits, they might need to be tucked behind other things.
Make some fan-shaped bundles. Place one big piece at the back and then layer a few other bits on top. Tie at the base of the fan and put the bundle to one side. Repeat. How many of these bundles you need will depend on how lush you want your wreath to be and how big the frame is. It is better to do a few extra at this stage, so err on the side of generous. Maybe 20 at least. They don’t all have to be the same in terms of what is in them – indeed, variety will make the wreath look less shop-bought. But they do need to be roughly equal in size and bulk.
Tie the wire on to the frame again, underneath the hay. Put the first bundle flat on the hay, and wrap the wire around both the bundle and the frame a few times quite tightly. This will stop the bundle rolling backwards and forwards into the centre or towards the outside.
Without cutting the wire, put the next bundle on top of the first, so the fronds of it cover the stalks. If you are going for elegant, just put it so the fronds only just cover the stalks and the hay cannot be seen. I do think this is harder to make look good, though, so it is not a technique for trying on your first wreath. If you want to hide a multitude of wreathing sins, put the bundles really close together. Wrap the wire around the stems and the wreath again. Wrap it a few times to ensure it is firmly anchored.
Without cutting the wire, just keep going round the hay base, making sure you are always putting the bundles on in the same direction, always with the fronds covering the stalks of the one before. Every so often check that you are placing them evenly. Don’t be tempted to skimp if you think you are going to run out of bundles – just tie off the wire, put the wreath down, and make a few more.
The last bundle is always tricky and requires a bit of tucking in. Again, do the best you can and mentally mark this bit as the ribbon hanging point.
You are almost certainly going to make your wreath flat on a table. It will look gorgeous. Perfect. Pert. Lush. But as soon as you finish and hold it up at arm’s length to admire, bits of it will move. Pieces of hay that you couldn’t see when it was lying flat will suddenly appear. You will realise that one half is fatter than the other. At least one bundle will twist alarmingly. Unless you are a professional and you make a hundred wreaths every Christmas, this is entirely normal. First of all, find the heaviest point of the wreath, where it seems out of proportion and thickest. Twist the wreath so that this is at the bottom. Suddenly, it will look fine. With this at the bottom, tie string or wire at the top and hang it up somewhere. This doesn’t have to be its final place, you just need to be able to see what happens when gravity is in play.
Adjust the bundles a bit so they are more even. Even if you have tied the wire tight, they should move and slide a little bit. Tuck in spare bits of foliage you might have left over from bundle-making to cover any thinner bits, or any hay that is showing. Remember to take a step back and look at it from a distance. Or make a cup of tea and then come back to it. Better still, take a photograph on your phone and then look at the photo. The human eye is so incredibly forgiving and it fills in the gaps and evens out the smooth bits. I cannot tell you how often I have only noticed a gaping hole in a garden, a flower arrangement or a wreath when I have looked at a photo of it.
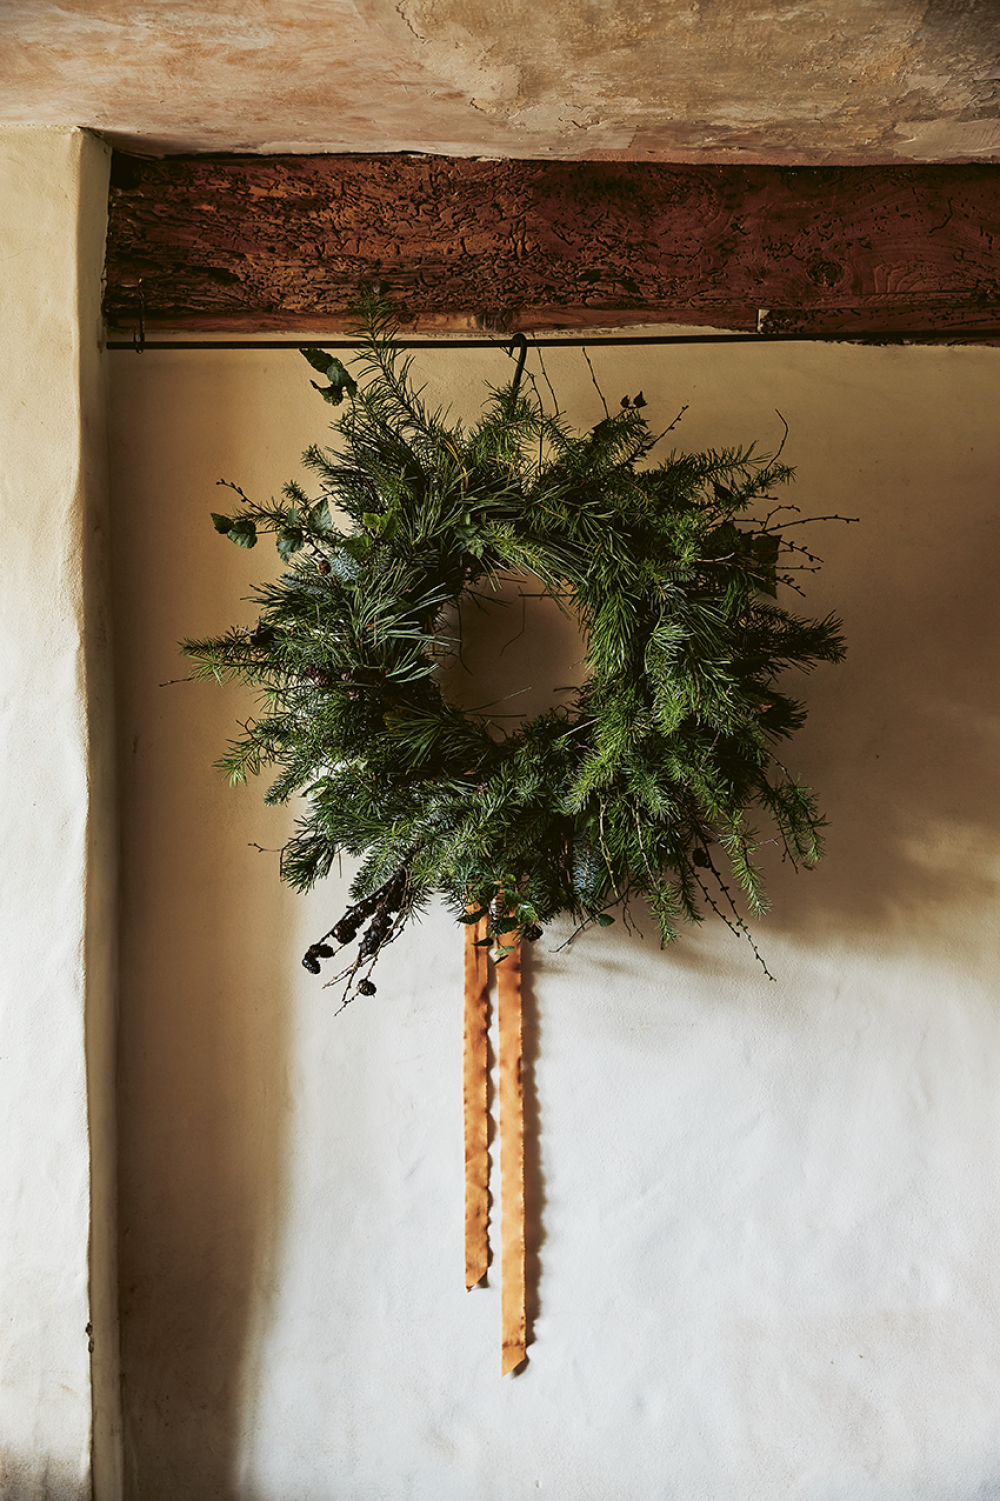
Come back to it. Tuck a few more bits in. And a few more for good measure – Christmas is no time for polite tidiness. When you are happy with it, dip the base in some water and let the hay soak it up. Leave it on a draining board for a little while afterwards so the excess water can run off, especially if you have wooden doors. (If you have particularly special doors, you can cut up a plastic bag and pin it on to the back of the wreath to make sure the damp hay does not come into contact with the wood.)
Tie on ribbon. Hang at eye level.