House of Flowers by Ashlee Jane, £25 Quercus Publishing
Join Our World... Sign up for our exclusive newsletter.

Be inspired every day with Living North

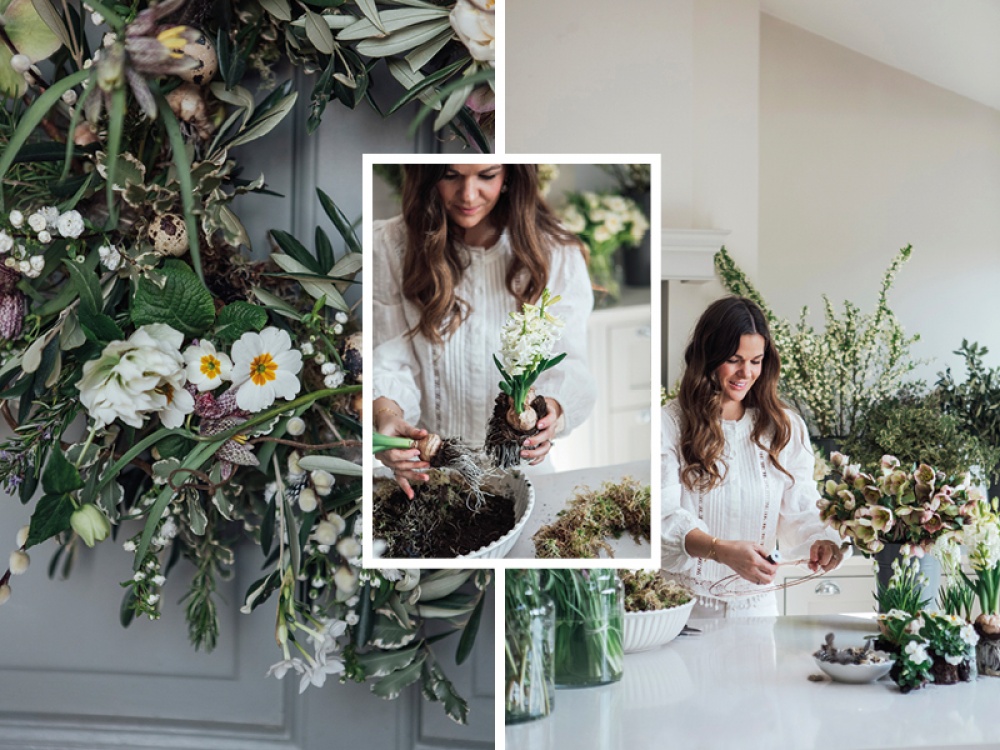


Perfect for your door, or as in impressive centre piece for your table, this spring wreath is created on a mossed base and as much of it is living it will continue to grow and bloom over time.
30-cm (12-in) wreath base (this could be a wire base, rattan base, or one you’ve created yourself from pliable branches such as clematis vine or willow)
mossing wire or twine
sphagnum moss
water vials
3 muscari bulbs
2 hyacinth bulbs
1 small white primrose plant
1 small white pansy plant
10 fritillaria
3 double white tulips
4 daffodil ‘Paperwhite’
6 hellebores
1 bunch olive stems
1 bunch pittosporum
½ bunch rosemary
6 pussy willow stems
2 contorted willow branches
3 blossom stems
a handful of blown quail’s eggs
glue gun (optional)
1 Attach the wire or twine to the wreath base. If you’re using a wire frame (as I have), it’s a good idea to create a zig zag pattern with the wire or twine to make a base for the sphagnum moss to sit on.
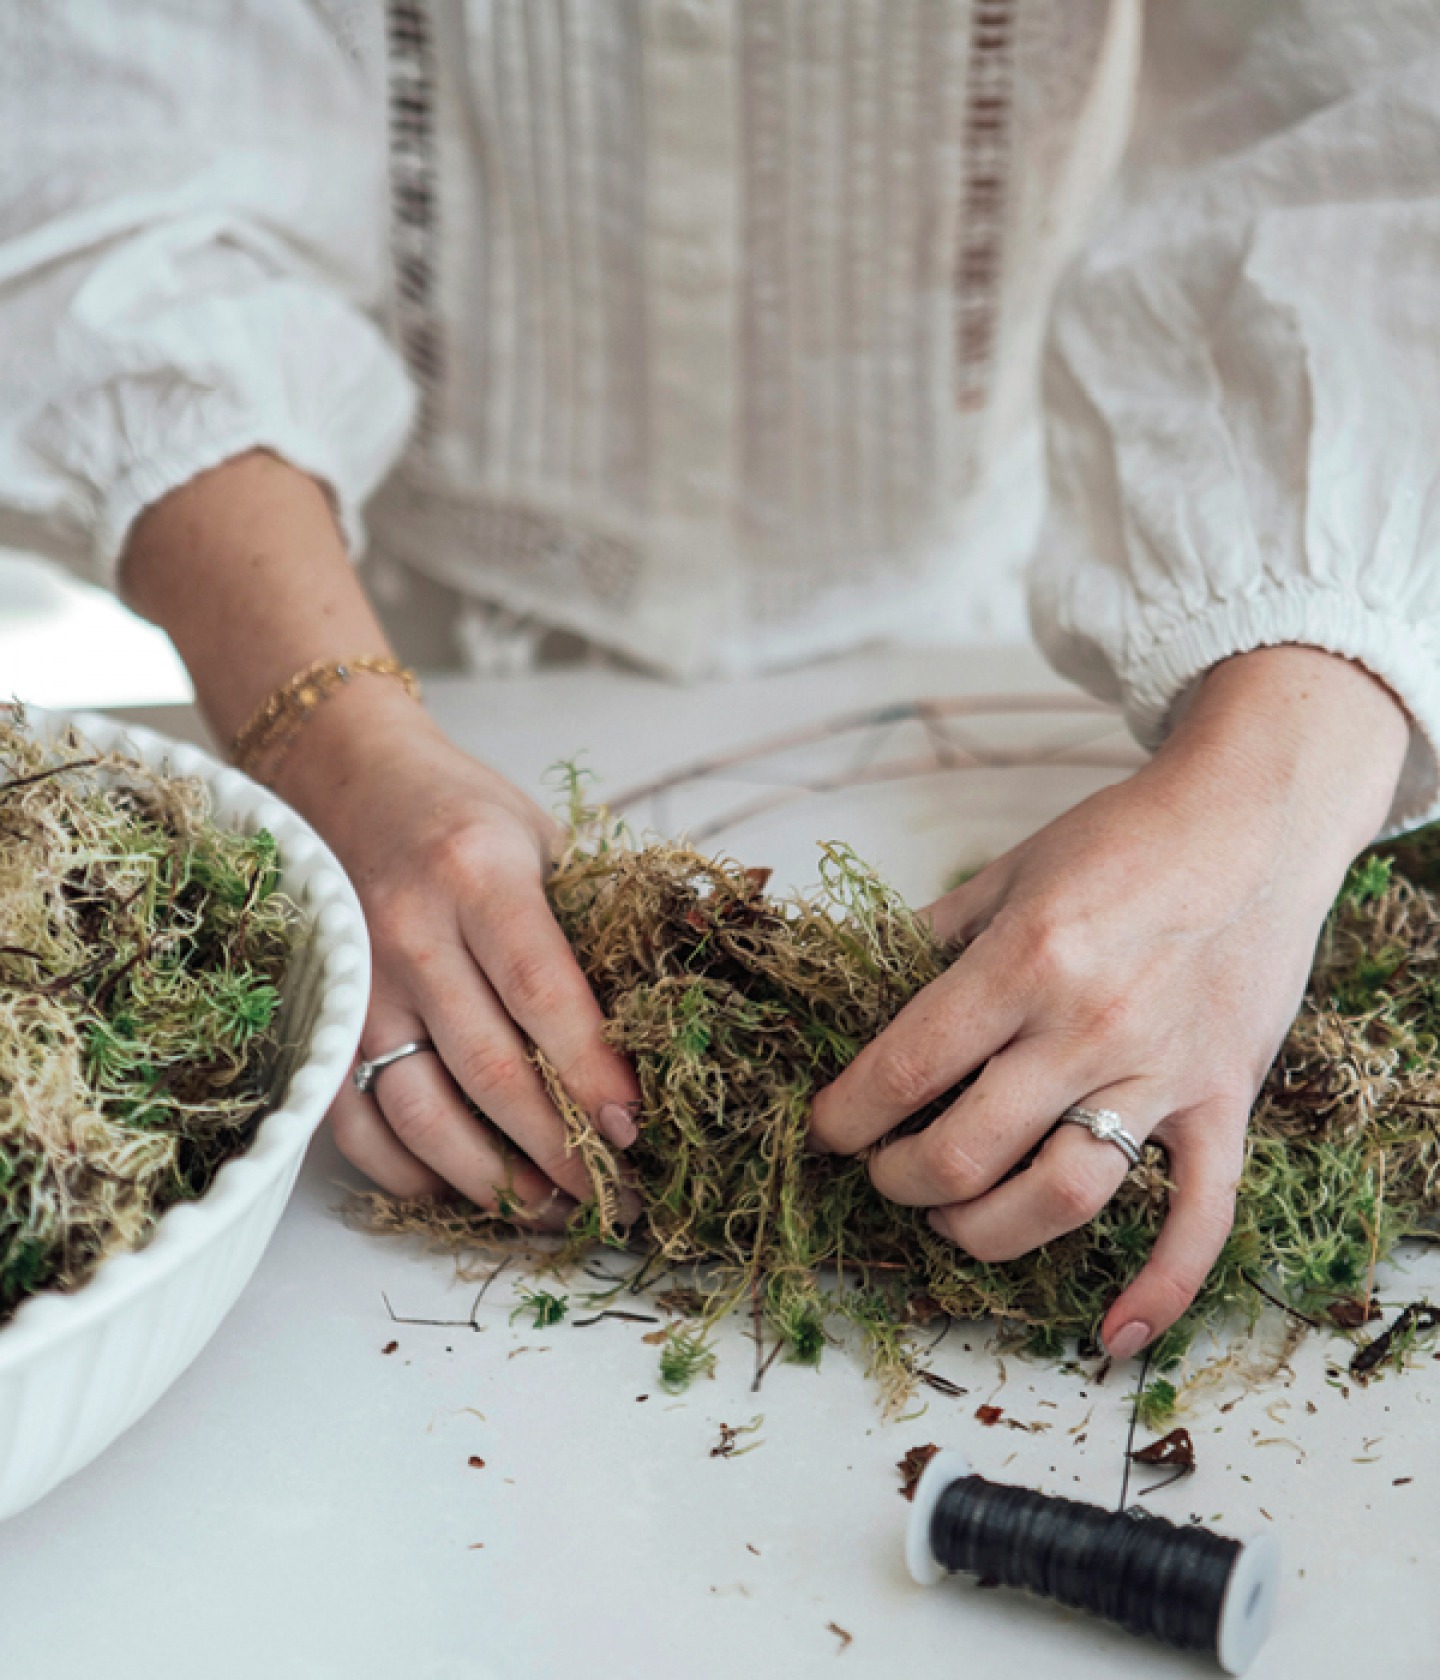
2 Add a chunky layer of sphagnum moss to the wreath base and secure it by taking the wire over and under the frame the whole way around. Keep the wire attached to the wreath.
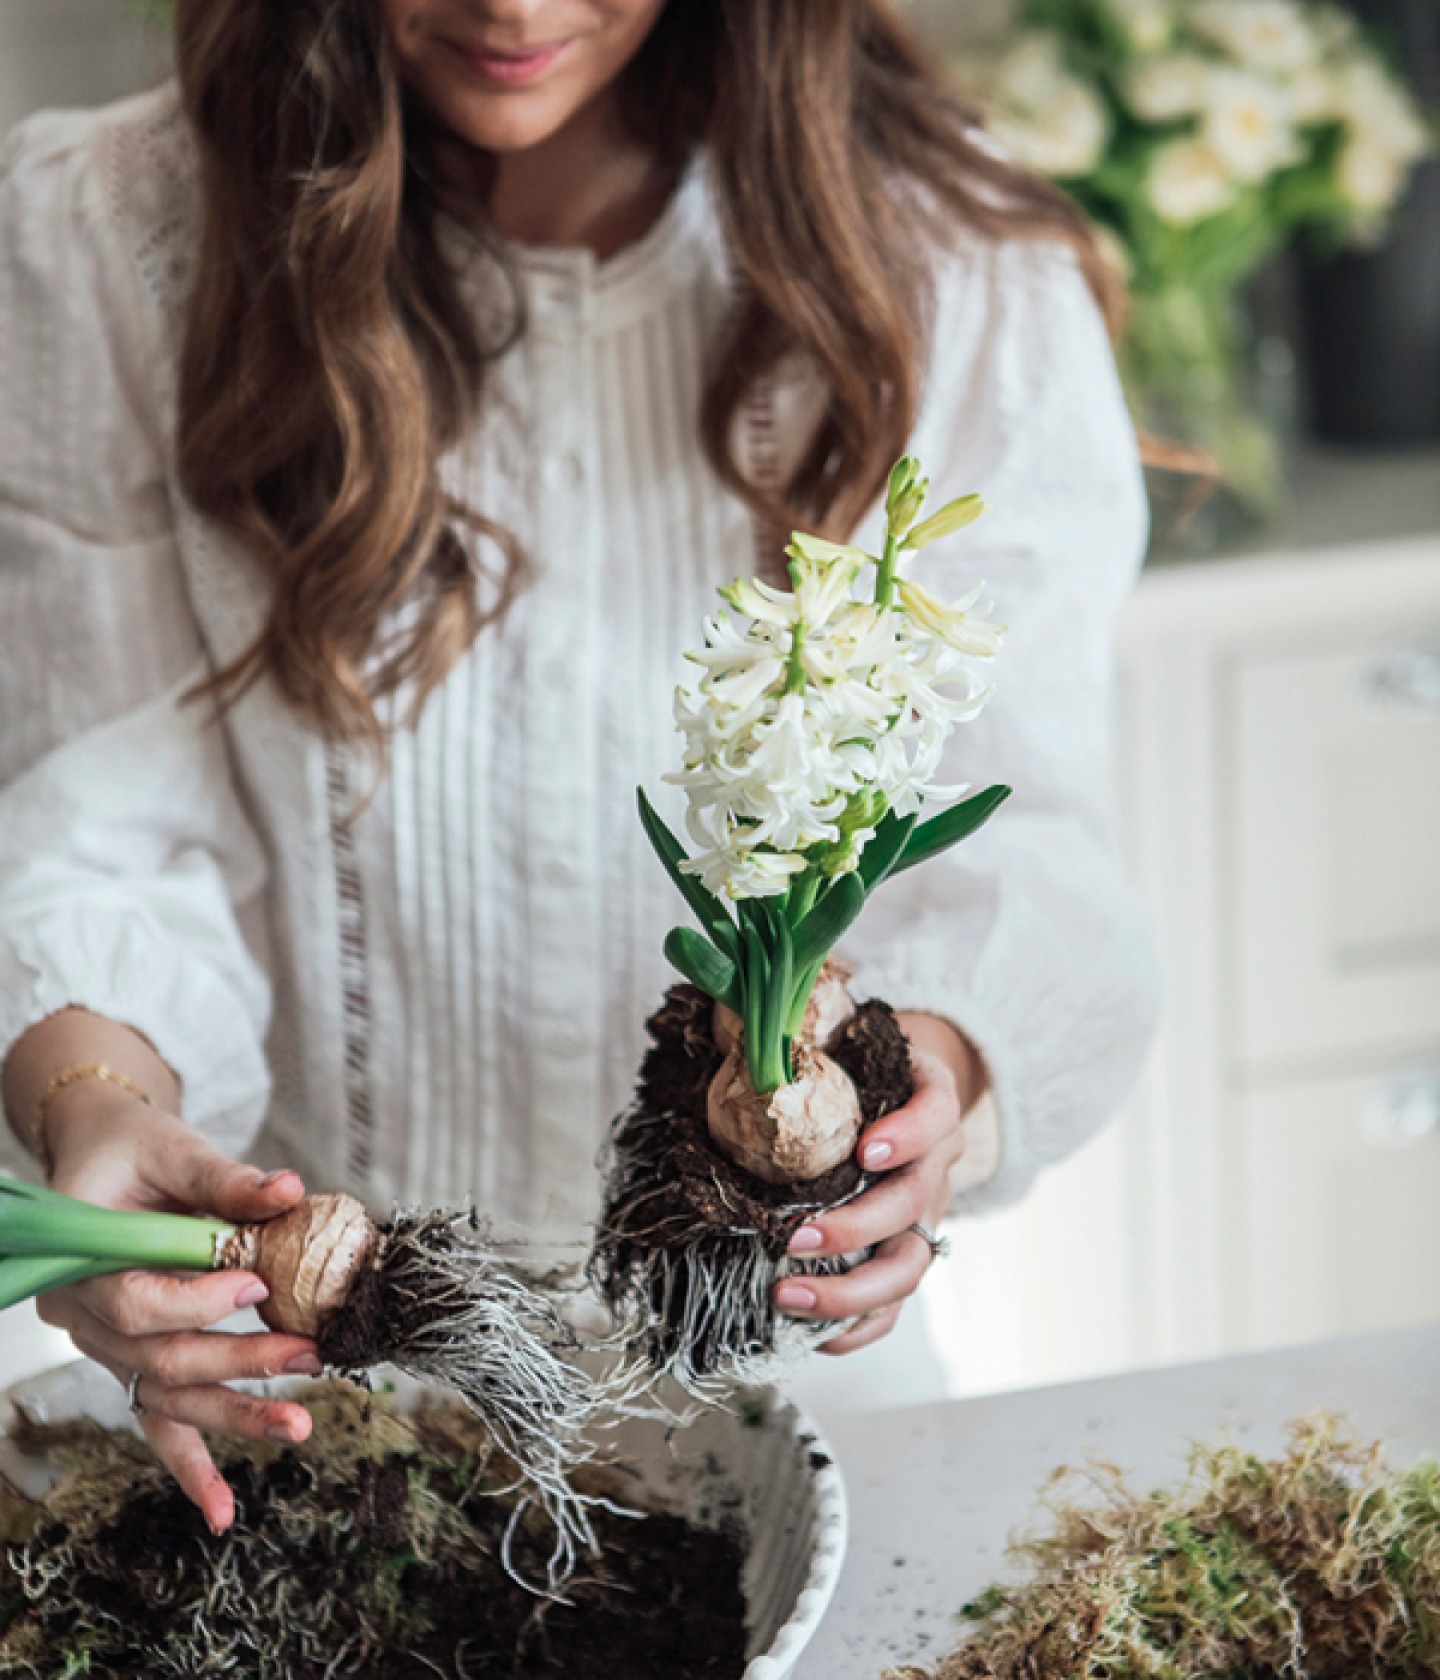
3 Separate the bulbs, shake off any compost and run the roots under a tepid tap to remove any remaining compost. Lay the bulbs onto the wreath in a formation you’re happy with. Keep in mind that the bulbs may grow taller, so consider the height they will grow to when positioning them.
4 Meander the wire around the tapered point of the bulbs – you may need to lift some of the foliage to avoid damage. Take your time and ensure they are secure. Once they’re all attached, leave the wire attached to the wreath.
5 Wrap the bases of the primrose and pansy plants in a little damp sphagnum moss and attach to the wreath base using the wire.
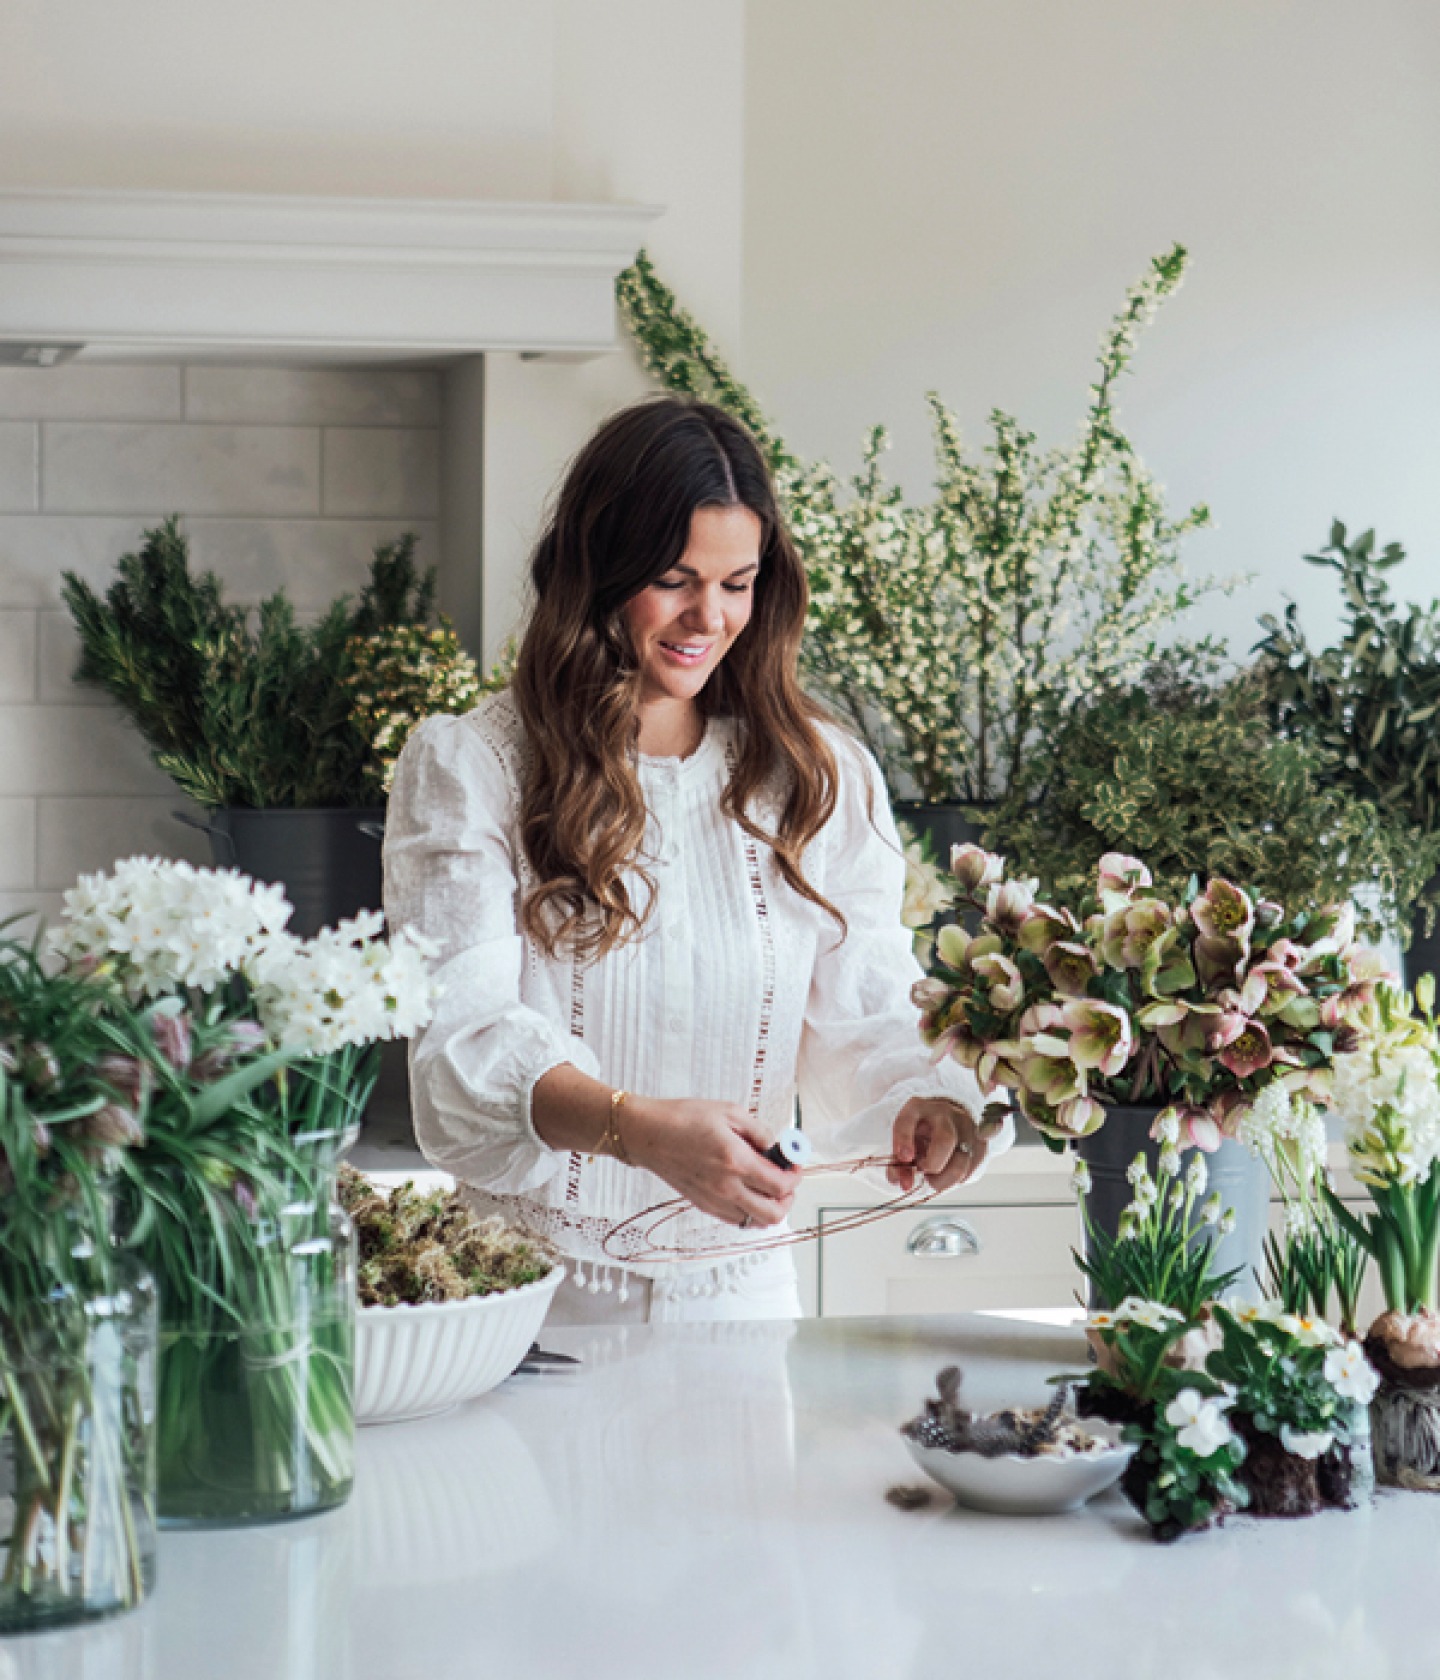
6 Fill the water vials two-thirds full with fresh, tepid water and place the lids back on. Choose the flowers you’d like to add to your wreath and gently push the stems into the vials. You can insert more than one stem into each vial at varying heights – if you need to make the hole in the lid a little bigger, simply cut a small slit.
7 Position the flowers on top of the wreath base, filling in the gaps between the bulbs and plants. Cover the vials with a little sphagnum moss and then use the wire to secure.

8 Once all of the flowers, bulbs and plants are secure, fill any gaps with the foliage. Cut the foliage down to lengths of around 15–20cm (6–8in) and insert the stems directly into the wreath base at a slight angle.

9 Stand back and check you are happy with the shape and fullness, making any adjustments as necessary. Cut the pussy willow and contorted willow branches down to the desired size and insert into the sphagnum moss at an angle in the same direction as the foliage.
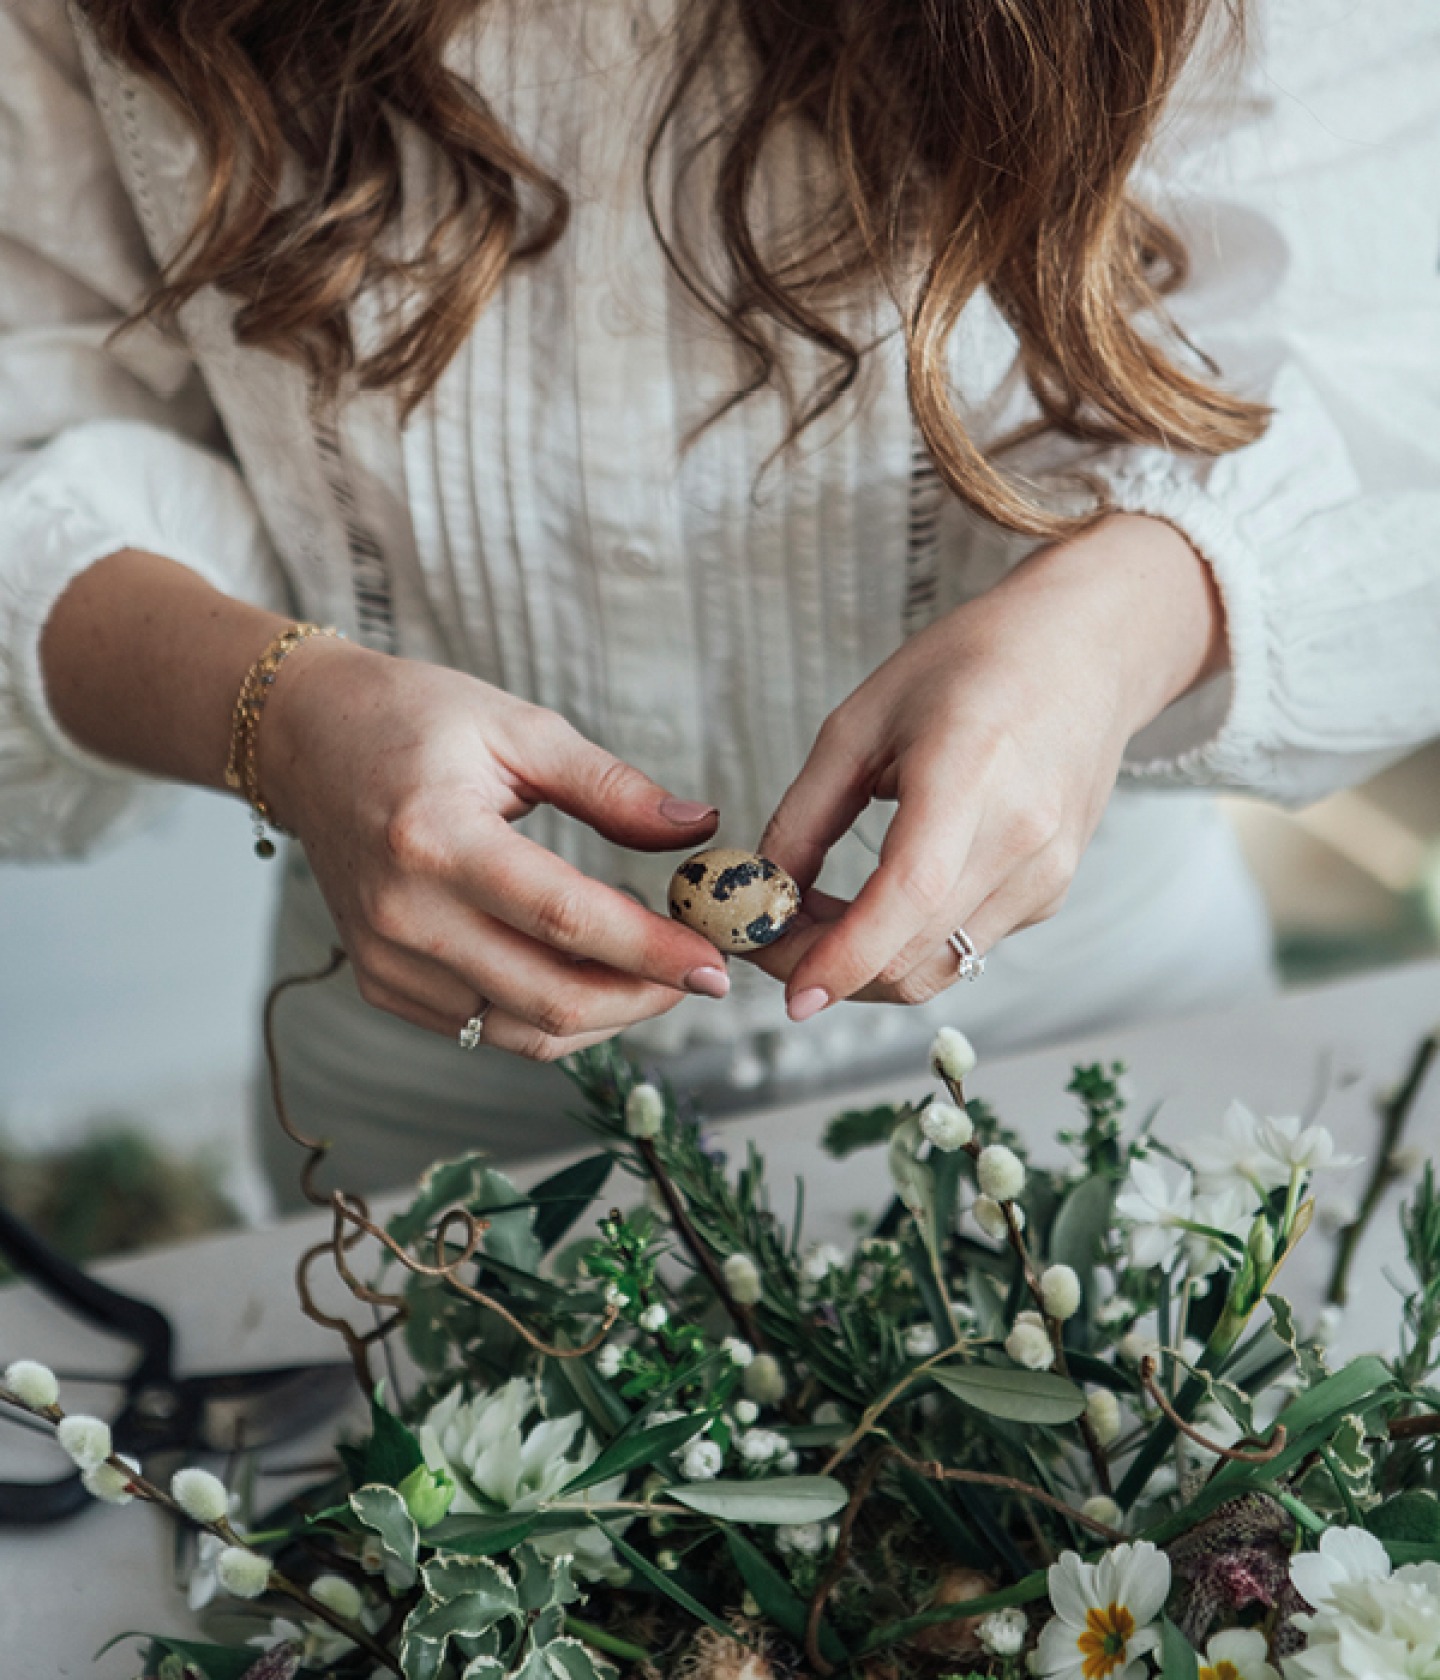
10 To attach the quail’s eggs you can either use a glue gun, or wire them like I have here. Simply poke the wire carefully through the egg, bring the lengths of wire down, twist them around each other as close to the egg as possible and then insert the lengths of wire into the wreath base.
11 Finally, attach a length of twine to the top of the wreath for hanging.
12 Generously spritz the back of the wreath directly onto the sphagnum moss every two to three days to keep the foliage hydrated and the bulbs growing. The water vials can be topped up using a long-spouted watering can. Once the flowers have gone over, they can easily be removed and replaced with fresh flowers
• This is a messy wreath to make, so give yourself plenty of room and have the compost bin close by so you can tidy as you’re working.
• I prefer to work in a clockwise direction around the wreath and insert the stems at an angle to create a circular shape accordingly.
House of Flowers by Ashlee Jane, £25 Quercus Publishing