Three Delicious Recipes to Help Rewild Your Microbiome
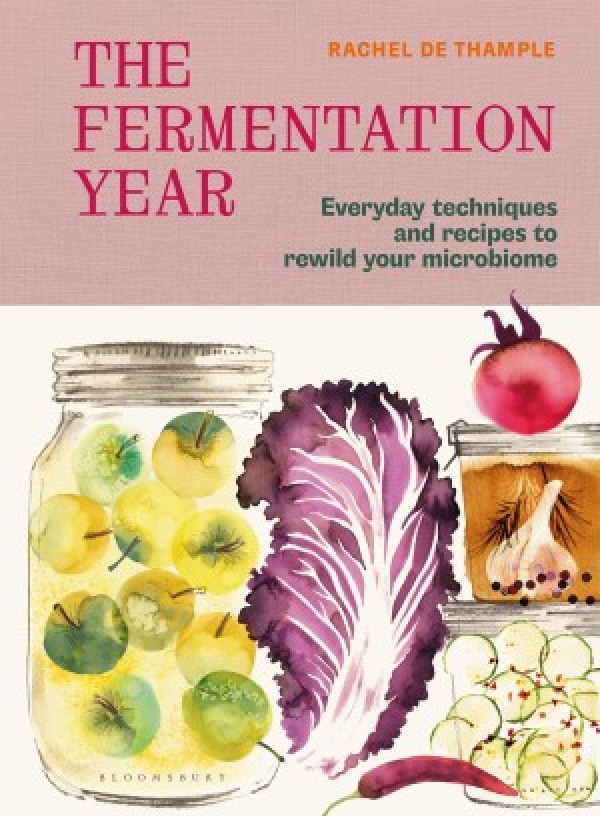
The Fermentation Year is a brand new and fabulous guide to using seasonal fermentation to rewild your microbiome
Covering everything you need to know about fermenting year-round at home, including basic techniques for kimchi, kefir, sauerkraut, pickles, miso and kombucha, there are also plenty of delicious recipes for every day.



Miso Fermented Onions
Called misozuke, these onions are a Japanese-style pickle fermented in miso. Not only do you get the perks of a pickle that’s rich in protein and probiotics, but you also receive all the benefits of raw veg, as this is a completely raw pickle, softened in just a short whisper of time. The resulting miso-fermented alliums take on all the salty umami deliciousness of anchovies (as described by my amazing friend Emma Chase, who inspired this recipe), yet retain the immune-boosting properties of raw onions, which are also a source of the prebiotic fibre that your microbes turn into valuable butyrate.
MAKES
300G
Ingredients
- 100g miso (homemade or unpasteurised)
- 2 tbsp rice wine vinegar, sake, or lime juice
- 1 garlic clove, finely chopped
- Pinch of chilli flakes
- 1 large onion (red onions are best, as they’re richer in antioxidants)
- 5 bay leaves
- You will need
- 500g shallow jar or dish with airtight lid
- Fermenting time
- 3 days
Method
Put all the ingredients apart from the onion and bay leaves into a 500g shallow jar or dish with an airtight lid. Mix well. Thinly slice the onion and fold through the miso mix.
Cover with a lid and ferment at room temperature for three days, then place a few overlapping bay leaves over the top to fully cover and keep in the fridge for up to 3 months.
The onion slices make a wonderful condiment for almost anything, but especially for East Asian foods, or as a topping for flatbreads. Use the leftover marinade as you would regular miso paste, to make an onion-accented soup, or to add flavour and depth to other dishes.
Kraut Koftes
Autumn is the true time of year to indulge in meat, as the animals have enjoyed a diet rich in spring and summer forage. My philosophy with meat has always been that less is more, and I take pains to source it as directly from the farm as possible, often from my favourite local Tamarisk Farm, as I know their meat is reared with care and is nourished with a lush, chemical-free landscape. Pairing the meat you do eat with something fermented will help you to digest it better, and therefore get more from it.
SERVES
4
Ingredients
- 250g sauerkraut (see below)
- 400g minced beef, lamb or venison (or see below for a vegan alternative)
- 1 onion, finely chopped
- 2 garlic cloves, finely chopped
- Large handful of mint and/or parsley leaves, finely chopped
- 2 tbsp cumin seeds
- ½ tsp mixed spice
- Pinch of chilli powder
- 1 tbsp olive oil, plus more to drizzle
- Sea salt and freshly ground black pepper
- To serve (optional)
- Handful of herbs and/or microgreens
- You will need
- 8–12 skewers
Method
If using wooden or bamboo skewers, pop them in a glass or dish and cover them with cold water. Set aside to soak while you prepare the koftes, to help stop them burning under the grill.
Preheat your grill to its highest setting. If you don’t have a grill, just crank the oven to 220C/200C fan.
Spoon one tablespoon of the brine from the sauerkraut and mix in a large bowl with all the remaining ingredients (but not the sauerkraut itself) until well combined. Season generously. Divide the mixture into eight portions (if you want two kofta skewers each) or 12 (for three each). Gently squeeze each portion into a sausage and thread it on to a skewer. Drizzle with a little oil.
Set the skewers on a grill rack and cook for seven to 10 minutes, or until golden on top. Turn over and cook for a few more minutes on the other side, or until this side starts to pick up some colour.
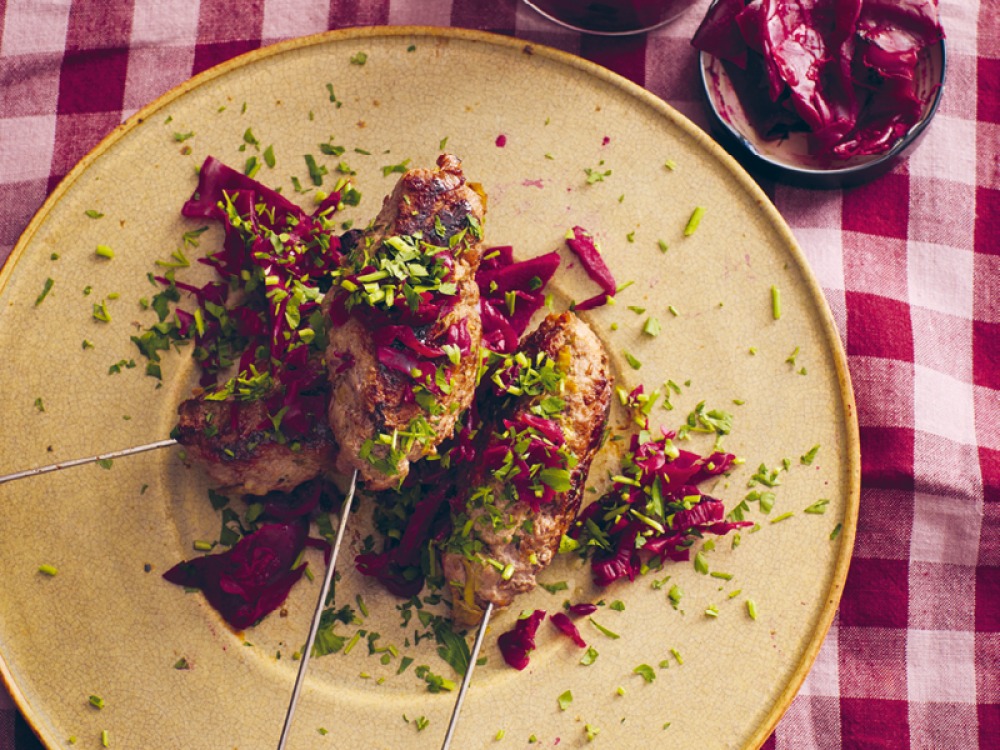
You can keep this really simple and serve the koftes draped with a tangle of the kraut and herbs and/or microgreens. Or pair with pita and hummus too, if you like.
VARIATION: CHICKPEA KOFTES
Swap the meat for 400g drained, cooked chickpeas mixed with four tablespoons finely chopped walnuts and one coarsely grated carrot. Mix with all the other ingredients and cook as above.
Autumn Hedgerow Kraut
MAKES
500G
Ingredients
- ½ red cabbage (about 400g)
- 100g blackberries, elderberries, figs, plums or damsons
- 1 tsp fennel seeds and/or juniper berries
- 2 fresh bay leaves, or 1 small fresh fig leaf
- Sea salt
- You will need
- 500g jar with airtight lid
- Fermenting time
- 2 weeks
Method
Remove a couple of outer leaves from the cabbage and set aside. Halve the cabbage and finely shred each half with a knife, grater or mandolin; chop up the core, too, as finely as you can. Place in a large bowl.
Prepare your fruit, if needed, stripping any leaves or stems from the berries or pitting and roughly chopping figs, plums or damsons, if using, then adding to the bowl. If you have a mortar and pestle, the spices benefit from a light crushing to release their flavours and soften their textures. Really finely slice the bay leaves or fig leaf and add them with the spices to the mix: they give a spectacular backnote of flavour.
Weigh the mixed cabbage, fruit and flavourings and calculate two percent of its weight in salt; for 100g veg, you’ll need two grams of salt.
Add the weighed-out salt to the cabbage. Work the salt into the cabbage mixture, scrunching and massaging it until it starts to look glossy and wet. I normally squeeze a handful of the mix over the bowl and – if it drips juice – it’s ready to pack into a 500g jar.
Pack the cabbage mix into the jar, pressing it down well. You should start to see brine coming up over the veg as you pack it into the jar. Use the reserved cabbage leaves to cover the compacted mixture, bending them to fit over the top and tucking the leaf cap over the sides of the kraut. Press them down until there’s enough brine to come right to the top of the jar. If you don’t have enough brine rising over the top, just add another a pinch of salt and enough filtered water to fill.
Secure the jar with its airtight lid and place on a plate, to catch any juices that bubble over during fermentation. Transfer to a dry, warm, dark place and leave for two weeks, or longer if you like. Check every so often that the liquid is covering the veg. If it isn’t, add a little fresh brine by sprinkling a pinch of salt into the jar and pouring in enough filtered water to come right to the top.
Once you’re happy with the flavour and texture of your kraut, transfer it to the fridge to arrest the fermentation. If it is fully covered by brine, and the lid is airtight, it’ll keep for months. Should it start to look or smell off, don’t hesitate to discard it.
VARIATION: SMOKED APPLE KRAUT
A total transformation visually and flavour-wise, with just a small adjustment to the ingredients and technique above. Simply swap the dark fruits for an apple, coarsely grated with the skin on (compost the core, or use it to add flavour to a kombucha or water kefir). Use smoked sea salt in place of plain, and, for added depth of flavour as well as goodness, thinly slice two smoked garlic cloves and add to the mix. I like using a green cabbage here, as it allows the smoky vibes to come through more, but red cabbage is absolutely fine, too.
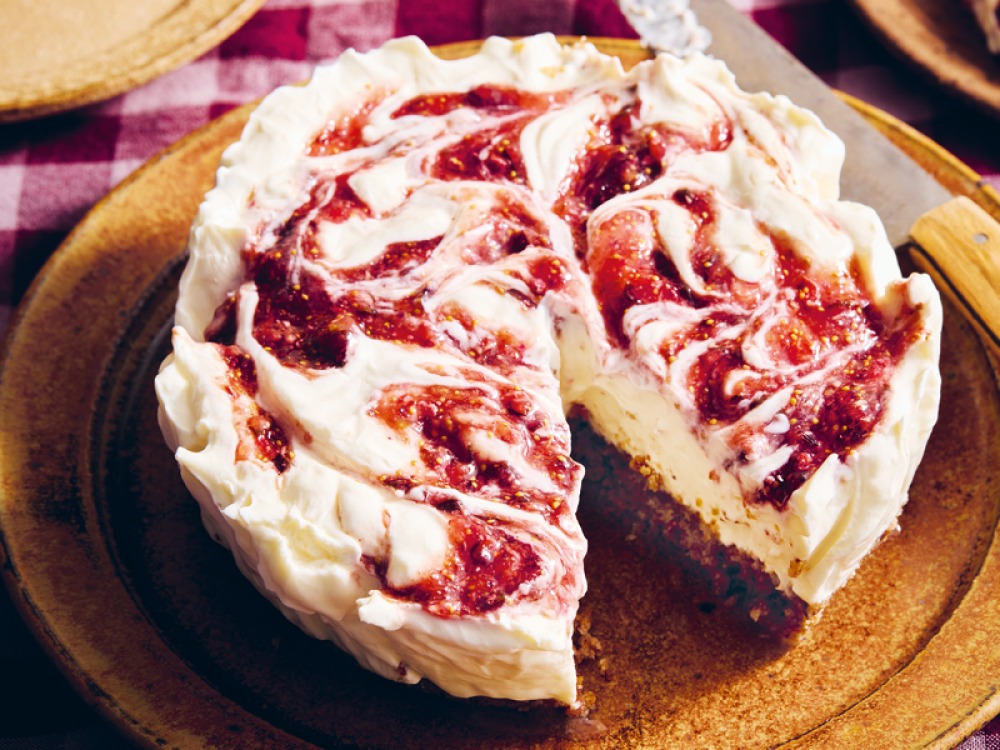
Honey Buttered Sourdough Cheesecake
If you’re a sucker for hot buttered toast with honey, you’ll fall in love with this decadent cheesecake, which uses breadcrumbs and honey in place of biscuits in its buttery base.
SERVES
8–10
Ingredients
- 75g cold butter, plus more for the tin
- 125g finely ground sourdough breadcrumbs, toasted
- 100g honey
- 500g kefir labneh, or yogurt labneh
- 250g double cream
- 1 tsp ground cinnamon
- Honey-Fermented Fig Jam (see below), or fresh fruit, or a mix, to top
Method
Lightly butter a 20–23 centimetre springform cake tin, or you can opt for smaller for a deeper cheesecake.
Cut the cold butter into cubes and mix with the toasted sourdough breadcrumbs just as if you were making pastry with flour (albeit a little more textured).
Tip into the prepared cake tin and press it in firmly with a bottom of a glass so you get an even layer. Chill the base while you make the filling.
Put the honey and labneh in a bowl, then whisk together with the cream and cinnamon until smooth, glossy and quite thick.
Spoon the mixture on top of the chilled base, then spread the top flat, or swirl, if you prefer, and spread over the honey-fermented or fresh (and puréed, if you like) fruit.
Chill for four hours, or overnight, until firm; or if you’re in a rush, pop it in the freezer for one hour to set instead.
Run a thin knife around the edge of the cheesecake and release the side of the tin.
Honey-Fermented Fig Jam
MAKES
ABOUT 200G
Ingredients
- 75g figs
- 75g honey
- You will need
- 200g jar with airtight lid
- Fermenting time
- 2 weeks
Method
Cut your figs or other fruits into thin slices, or finely chop to a paste. Pile them into a 200g jar. Spoon in the honey and stir it through to fully coat the figs. Make sure there’s a bit of headroom between the fruit and the top of the jar, as this ferment needs air to thrive.
Secure the jar with a lid and set it on a plate, in case there is any honey bubbling over as it ferments, which is likely. Every day or so, tighten the lid and give a shake, open the lid to let some air in, then set it back on the jar loosely and return to the plate. Soon you will start to see bubbles forming.
Leave to ferment for two weeks, depending on how funky you want it to taste. As time goes on, the honey will turn a lovely figgy hue and become thinner. Pop it in the fridge once you’re happy with the flavour, to slow the fermentation right down. It will keep, chilled, for a few months, but is best used within a month.