How to Extend Your Outdoor Living Space and Turn Unused Areas into Private Sanctuaries
Let’s get outdoors and make the most of the space you have
As temperatures have soared our thoughts turn to the outside world. Homes that have porches, terraces or decks can easily extend their living area to the outside.
We have been spending more time at home these past two years and this has encouraged many of us to find new ways to enjoy our outdoor spaces.
What better idea is there than finding an underused area in your garden to turn into a private sanctuary?
We have been spending more time at home these past two years and this has encouraged many of us to find new ways to enjoy our outdoor spaces.
What better idea is there than finding an underused area in your garden to turn into a private sanctuary?


In my garden, I have created more than one area in which to linger longer. My porch is my favourite spot, allowing me to enjoy the outside whatever the weather.
Should this not be a possibility in your home, try to design something using what you already have. Perhaps you have an old shed in your garden.
Most sheds are only used to house the lawnmower and garden tools, but they often have great potential. Imagine tidying up this space so that the tools have their spot yet you can also carve out a place for yourself.
Add a coat of paint, some fabric, a cozy chair and a little table and you will have already begun to create a new outdoor room.
You could also add a pergola to the outside of the shed and train fragrant rambling roses and wisteria to climb up it. Sheds are such amazing buildings to enhance.
When we moved here, there was a rather sad-looking shed in the garden. It sat upon a long stretch of concrete, which we soon dug up to make a bigger lawn for our children to play on.
The shed was moved into the corner of the garden. The only paint I had at the time was white masonry paint. I could not wait to transform the structure, so I quickly gave it a wash of this paint.
It actually turned out to be the best idea. I am not sure how, but this paint created a distressed look that I love so much and it has lasted for more than 20 years.
We have made a few other changes to the shed over the years, mostly by reusing and upcycling materials that were headed for landfill.
It received a new roof, thanks to a disused World War Two air-raid shelter. When a friend renovated their kitchen, the old flooring found a new life here.
The workbench was our kitchen hutch/dresser, which we removed when we created a walk-through from the kitchen to the living room.
‘What better idea is there than finding an underused area in your garden to turn into a private sanctuary?’
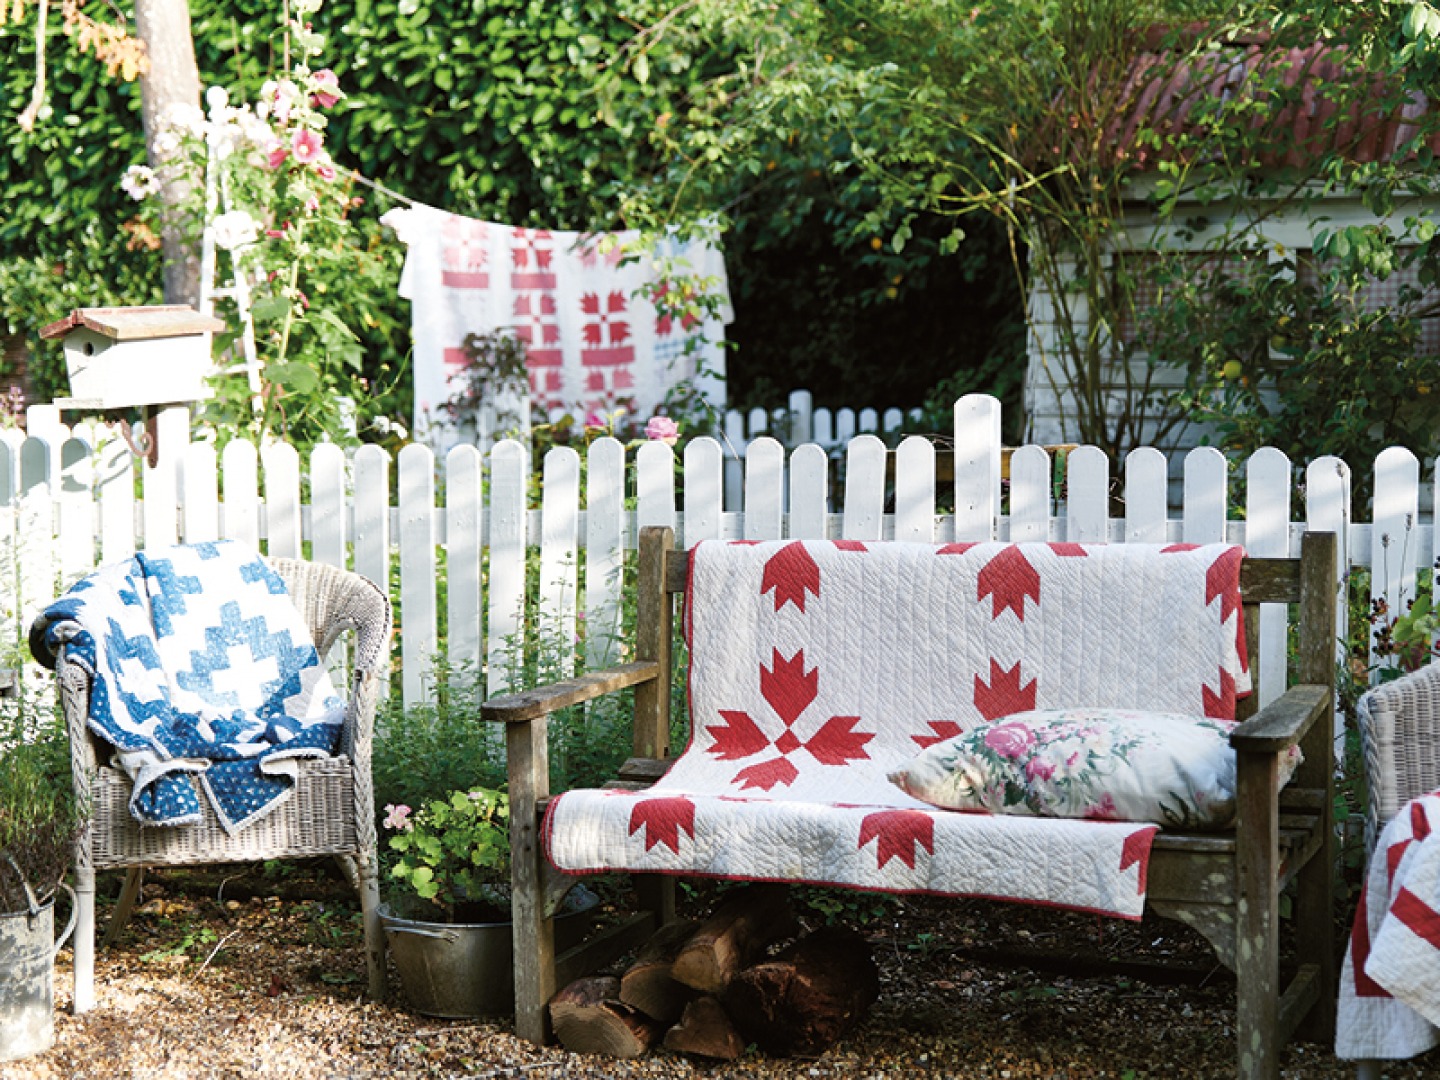
One can never have too many quilts, indoors or out. I cannot remember how many times I have said those words, especially when I am standing in front of a heap of them at a fair. Although I think they are priceless, I believe that the way to honour the maker is to keep using and caring for them with love.
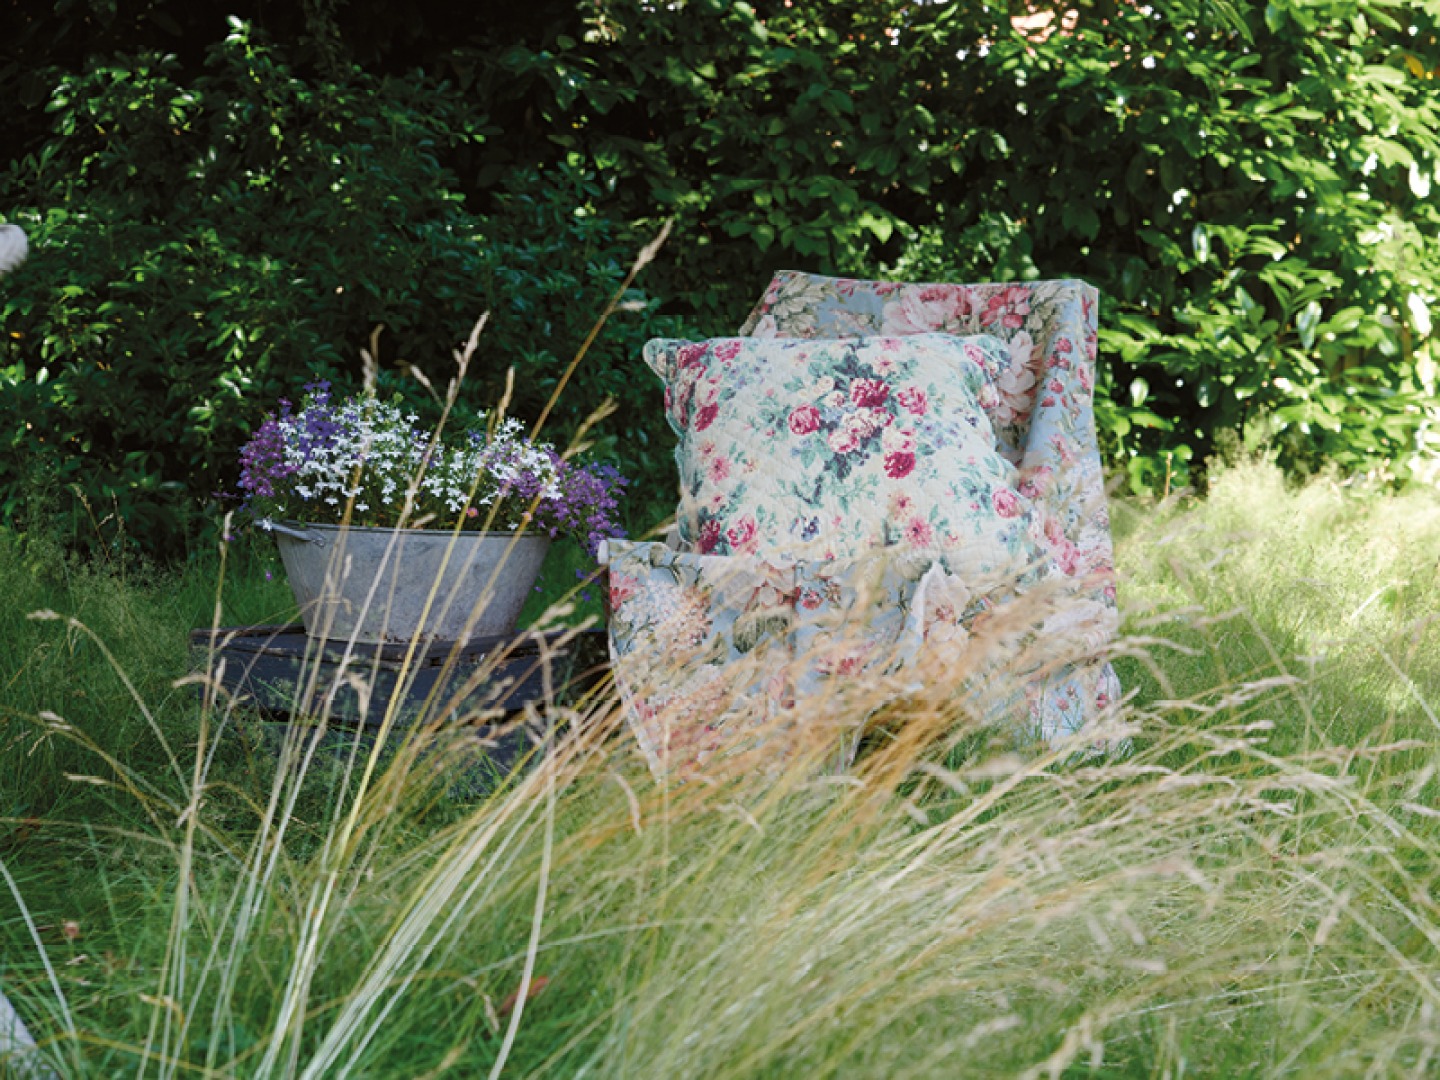
For the benefit of winged insects and other creatures, I have allowed my grass to grow in a wild, but still orderly fashion. This untamed area is the perfect spot to place a chair for reading.
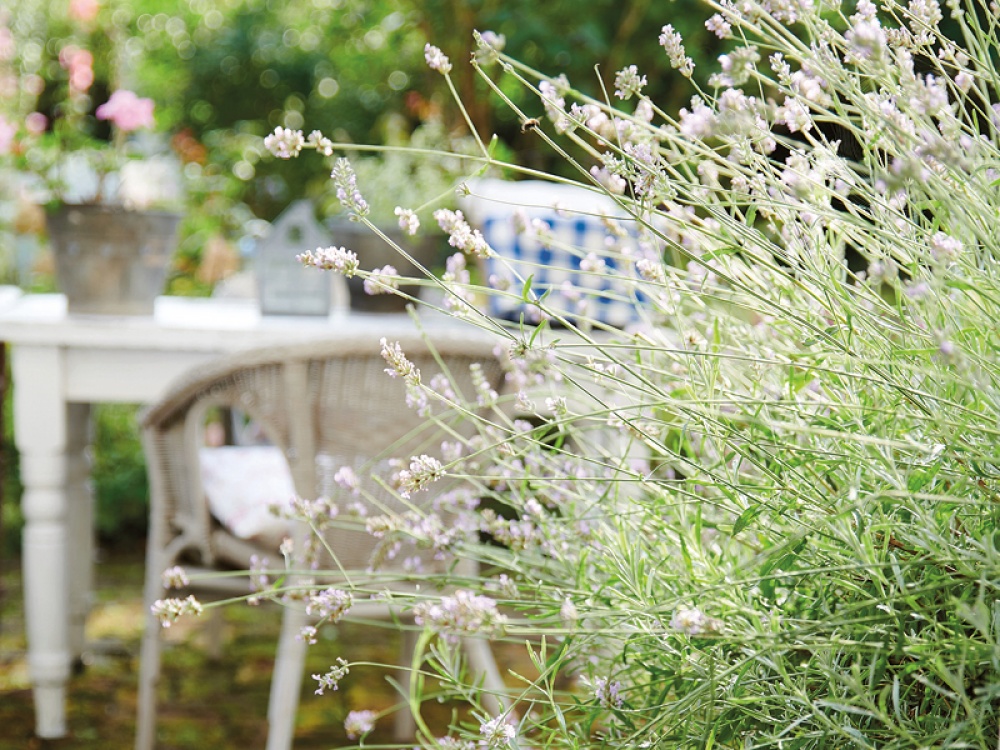
The quaint stable door was a skip find. I added the gingham curtains, and planted lavender and roses in a haphazard fashion outside. The shed was, and still is, a delight.
More recently, it has become my husband’s retreat and “Crooked Workshop”. When the boys were little, I created a firepit in a corner of the garden so that we could roast sausages and marshmallows and pretend we were on a camping trip.
Wanting to create a more permanent area, we added some gravel and delineated the space with bricks dug into the ground. I added a few old benches and wicker chairs, which I painted white, and some apple crates repurposed as side tables.
Plants were added here and there – there was no plan, but I made sure to plant a few of my favourite lilac trees. These provide a delightful fragrance in the spring and make the area feel cosy and private due to their dense, heart-shaped leaves.
My front garden came about in a similarly unplanned way. Our Adirondack chairs are lovely, but they were too big for the seating area behind the house.
We decided to move them to the front, where I had already made a gravel area. The chairs surround a smaller firepit made from our neighbour’s old stove. The striking white of the chairs against the hedge and more lilac trees is perfect.
This new area has now become another cosy outside room. I added some twinkle lights to the trees that surround the gravel area, which is a wonderful setting in the still summer evenings or frosty winter nights. If you live in a city, a full-size outside room may be impossible.
If you have a balcony, you can create a little oasis with plants and comfortable seating. For those who have no outside space at all, the only suggestion I have is to bring the outside in.
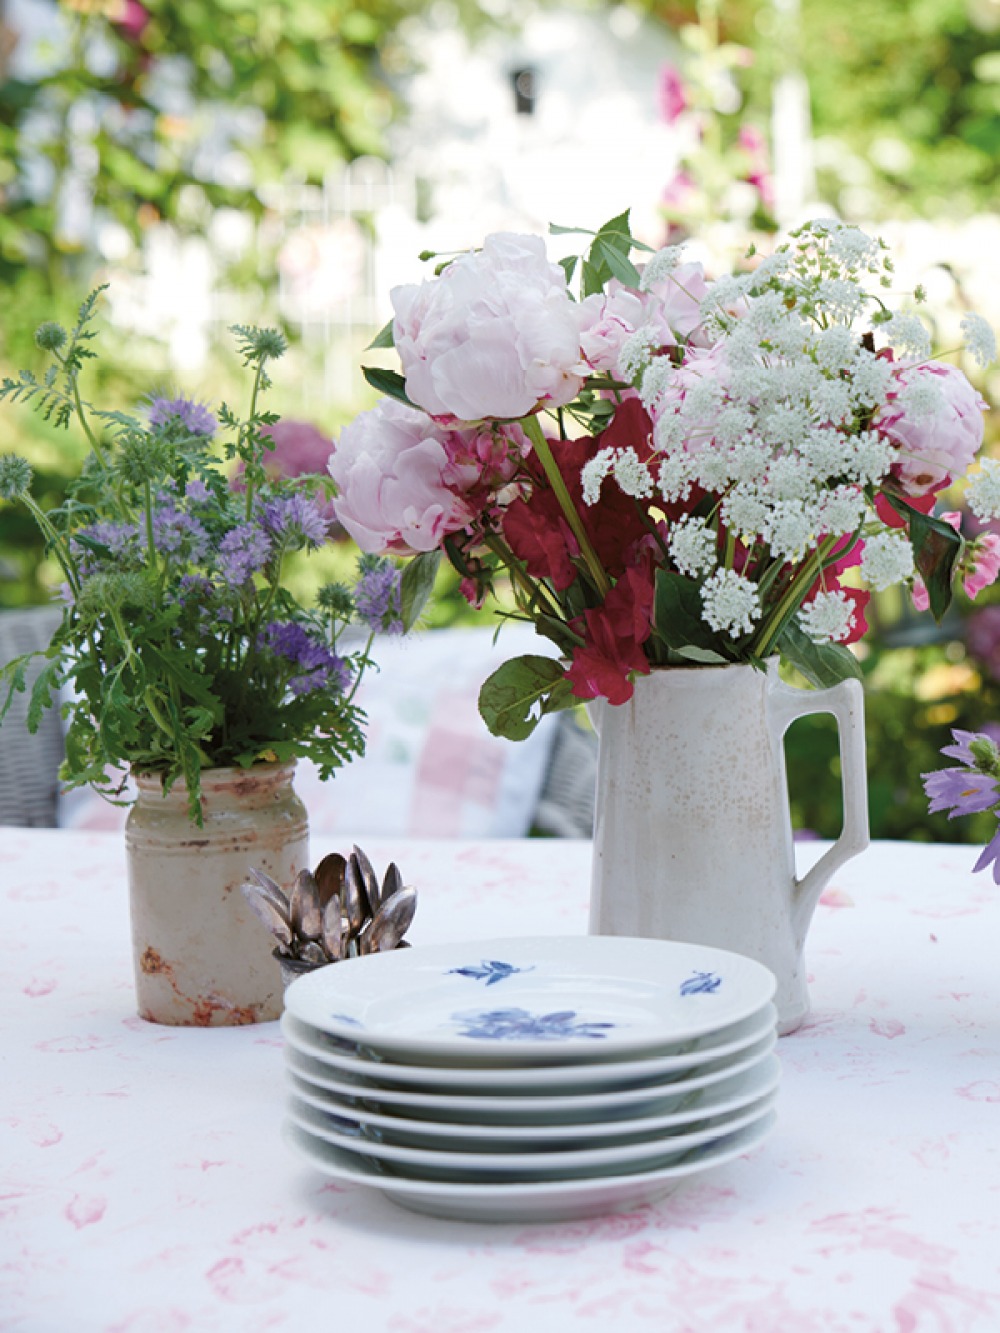
Gathering twigs and winding twinkle lights through them will welcome friends and family into your living space. Herbs on a windowsill, fresh flowers and houseplants will provide colour, scent and flavourful ingredients for cooking.
Whether you have acres of land, a town garden, a balcony or nothing at all, if you live with nature and welcome it in at any opportunity, you are choosing to live a simple and cosy life.
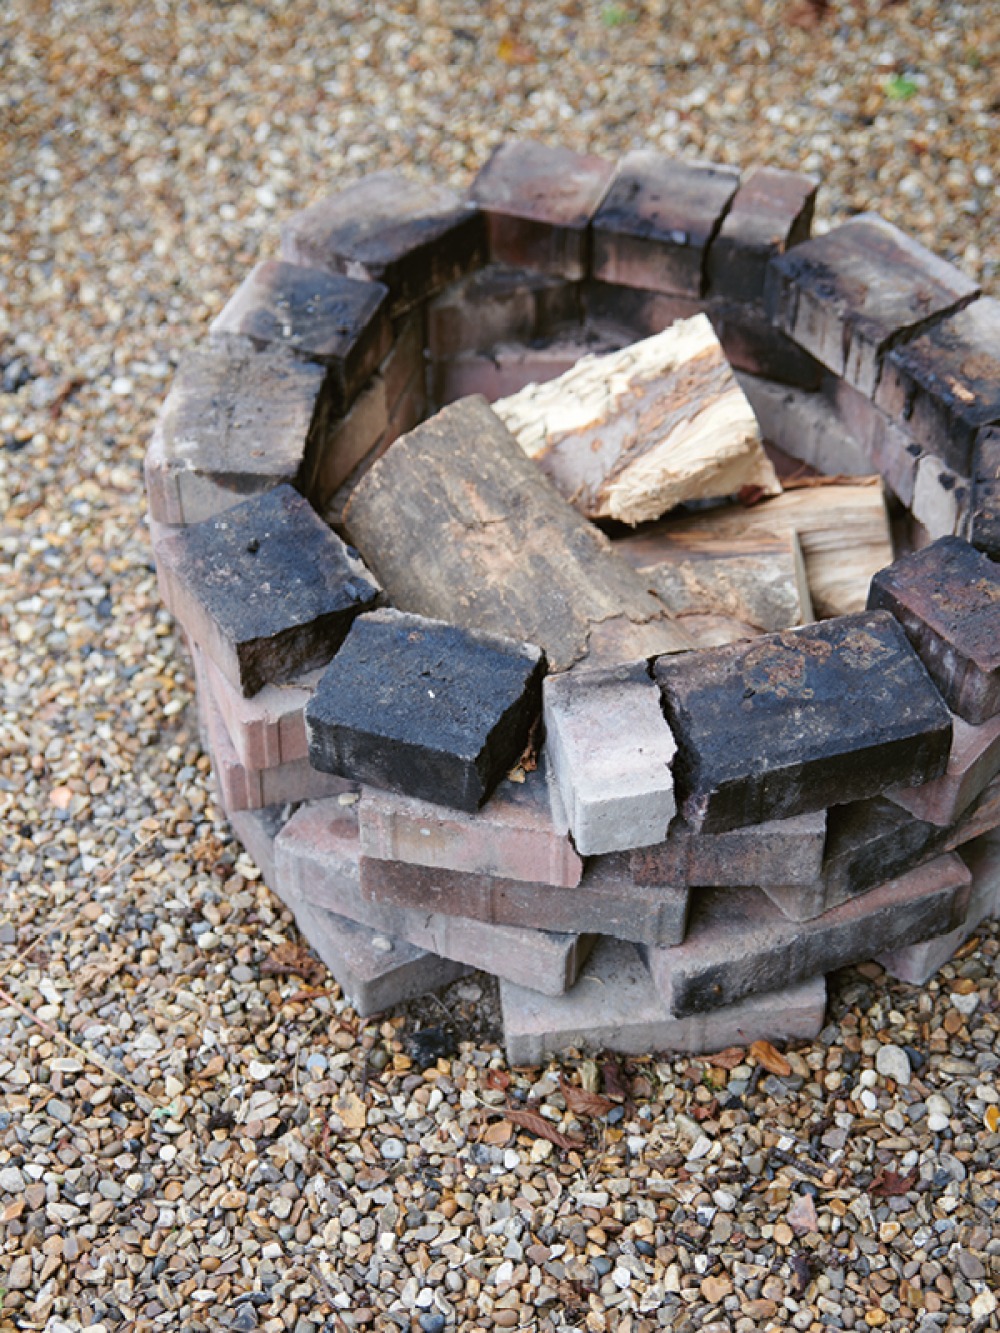
MAKING A SIMPLE FIREPIT
This garden feature has become a must-have. I have had my firepit for more than 20 years. The reason that I built it was that I wanted my boys to experience cookouts similar to those I enjoyed as a child in Canada. I wanted them to learn how to have a fire responsibly, give fire the respect it needs and, most importantly, enjoy a natural garden activity.
MATERIALS
spade
grill
about 20 bricks
dry twigs and pinecones (for kindling)
bucket of water
1. Use a spade to clear an area the size of the pit you want to make. Use your grill as a size guide.
2. Start placing bricks to make a circle, then add layers to build up your firepit. The holes between the bricks will let air in to help keep the fire going.
3. Check to make sure the grill fits the diameter of the pit and then you are ready to make a fire.
4. Keep your bucket of water near the fire as a safety precaution.